Ironically, my daughter is not a fan of cake (GASP!). She will take a few bites here and there, but she doesn’t loooooove it like I do. Haha, what? I love cake! All cakes. 😛
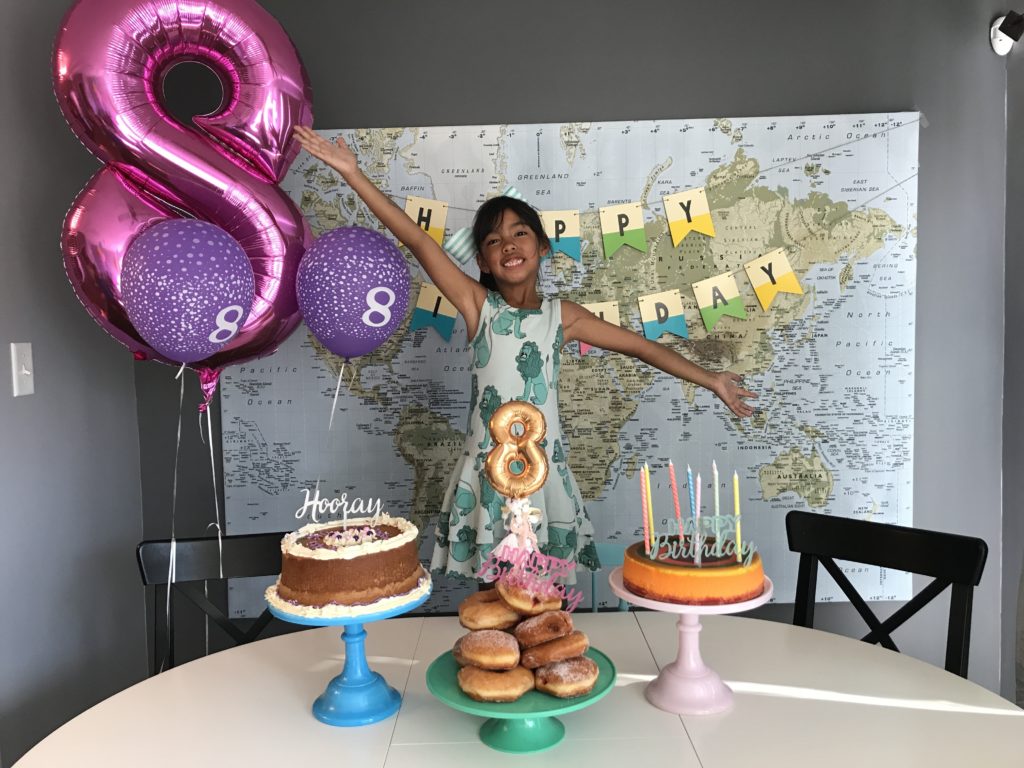
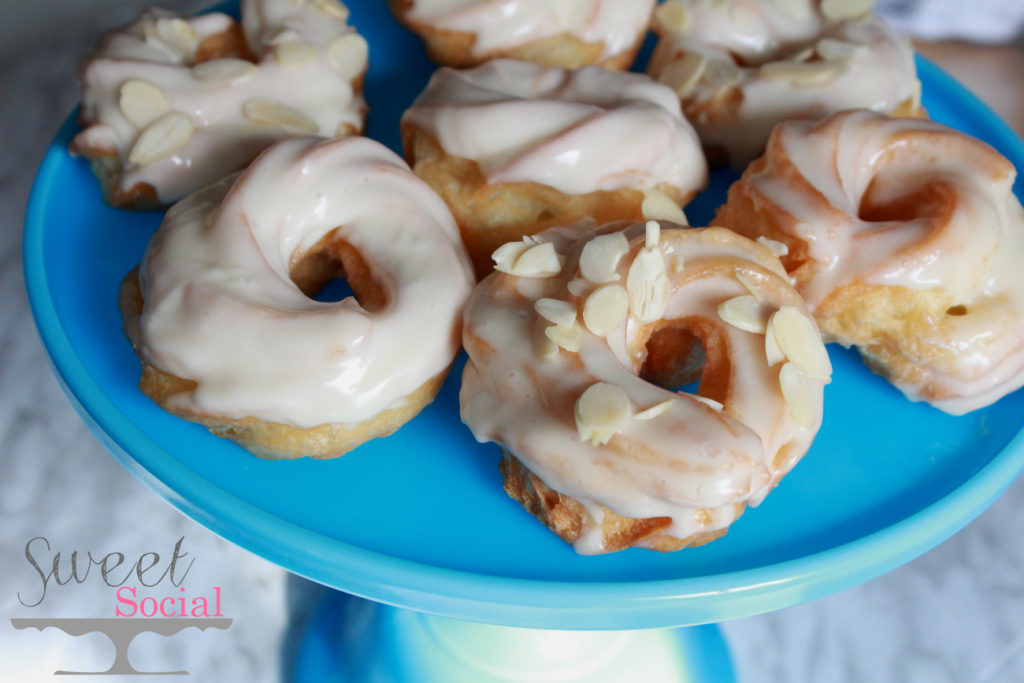
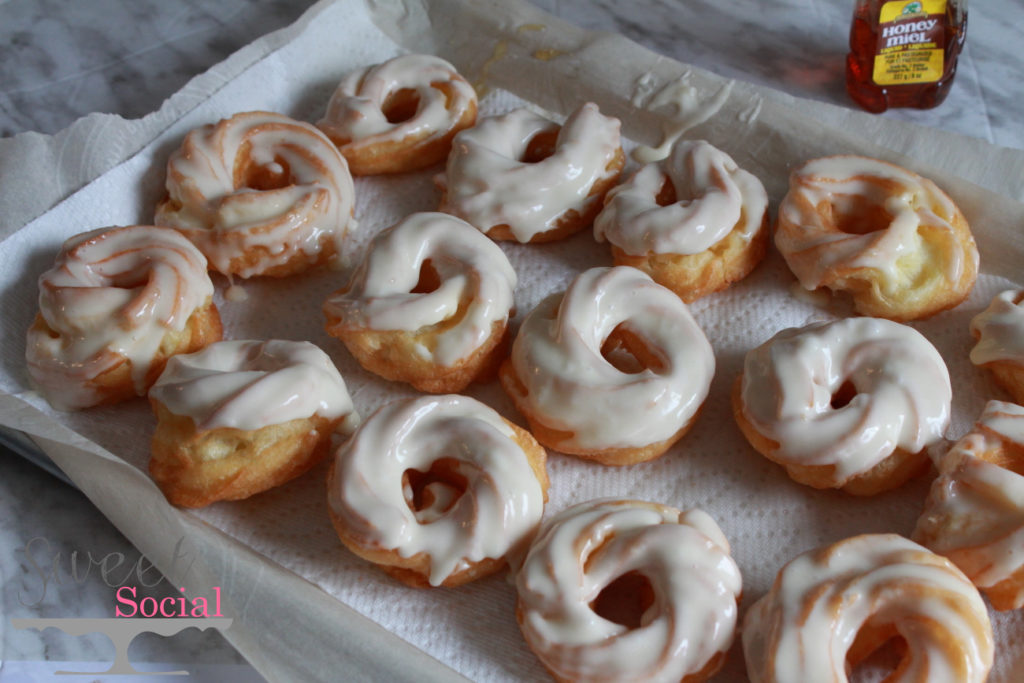
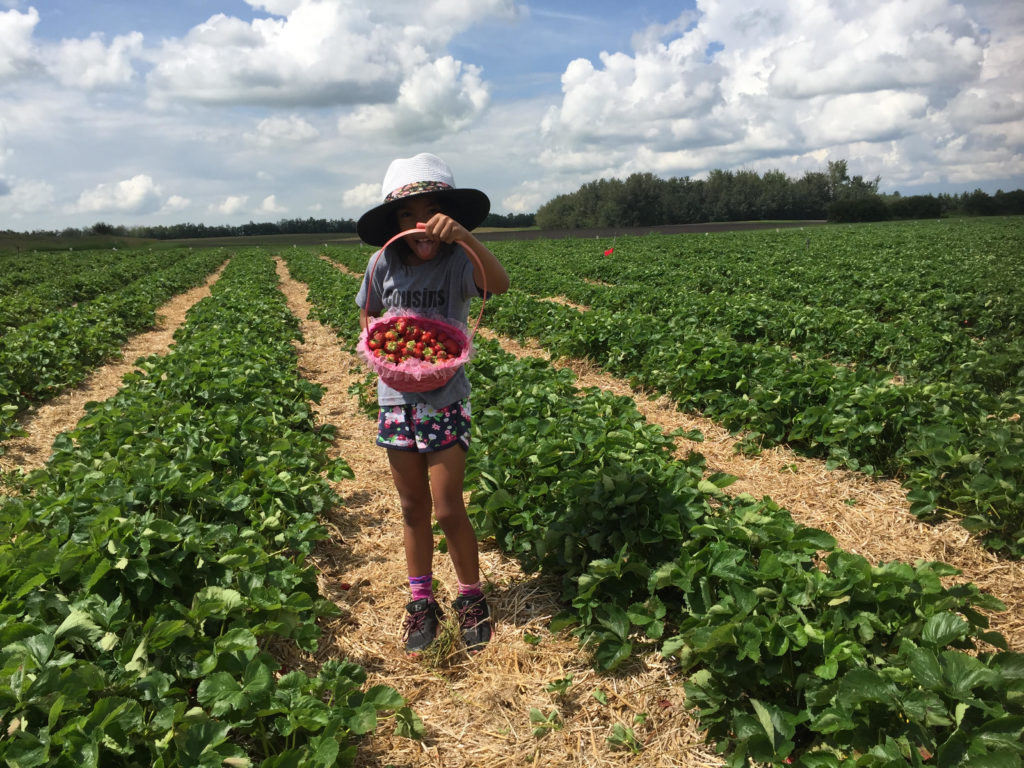
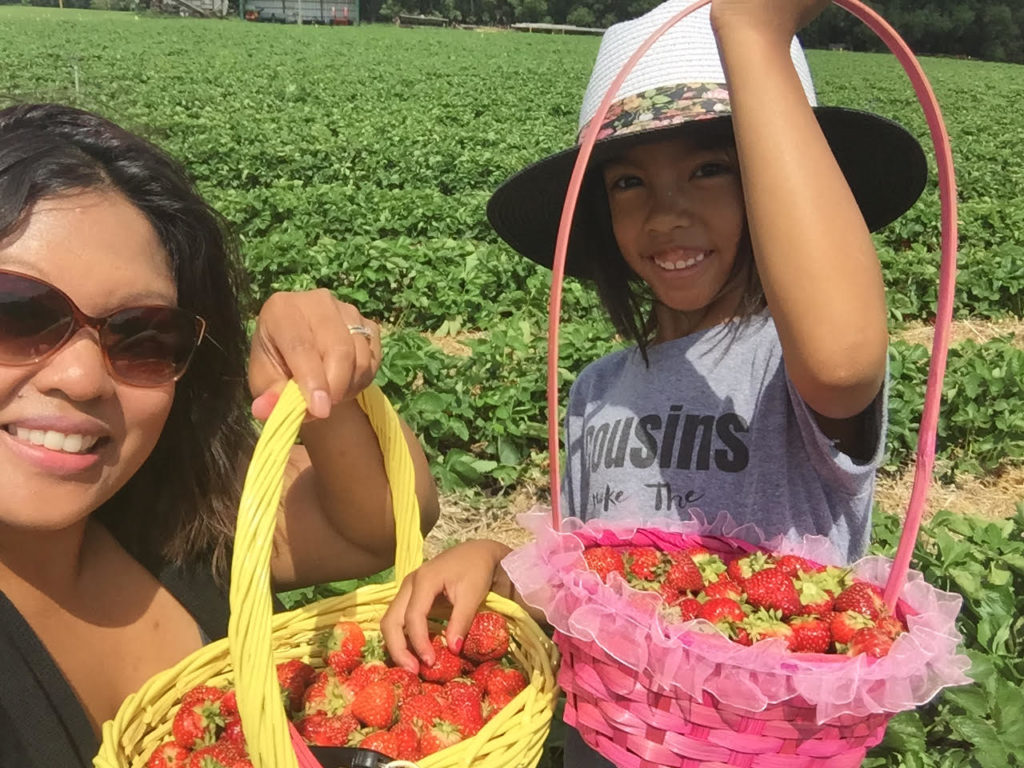
So, for her Birthday, she’ll typically request a tower of doughnuts or cheesecake. This year, she wanted both. And she requested to help make a cheesecake. A rainbow cheesecake…nonetheless.
***She also took the photos for this tutorial (other than the images she is in) and I have left them unedited!
I’ve been making this cheesecake recipe for a few years now and it has always been a hit for our friends and family, so I thought I’d finally share it with you all! The great thing about cheesecake is the simplicity. It takes only a few minutes to prepare and then you just let it bake and let the baking God take over from there 😉
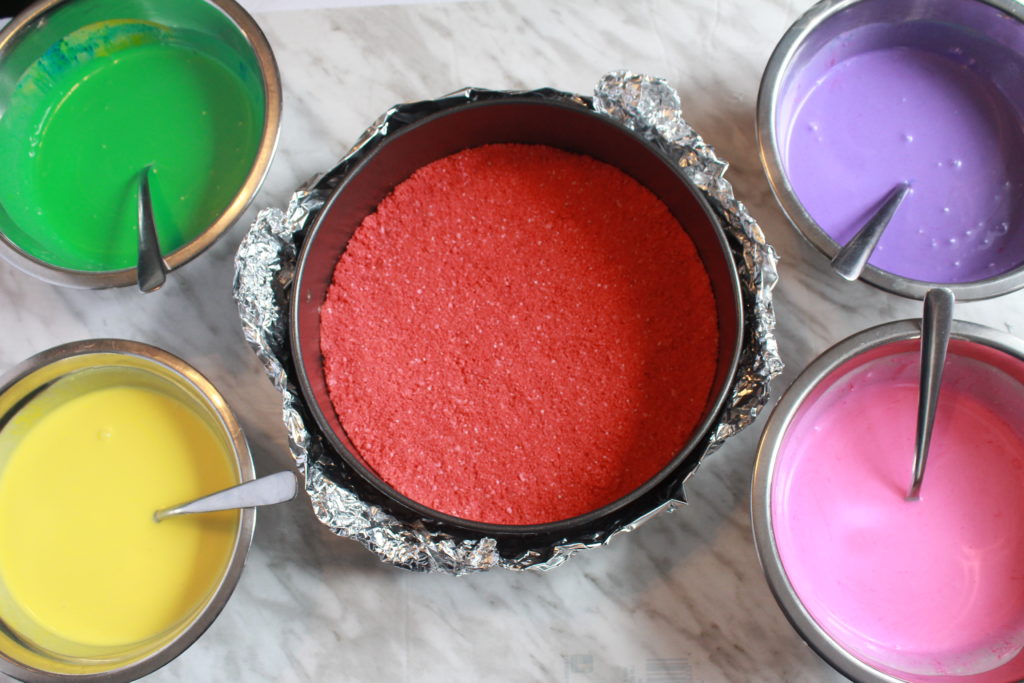
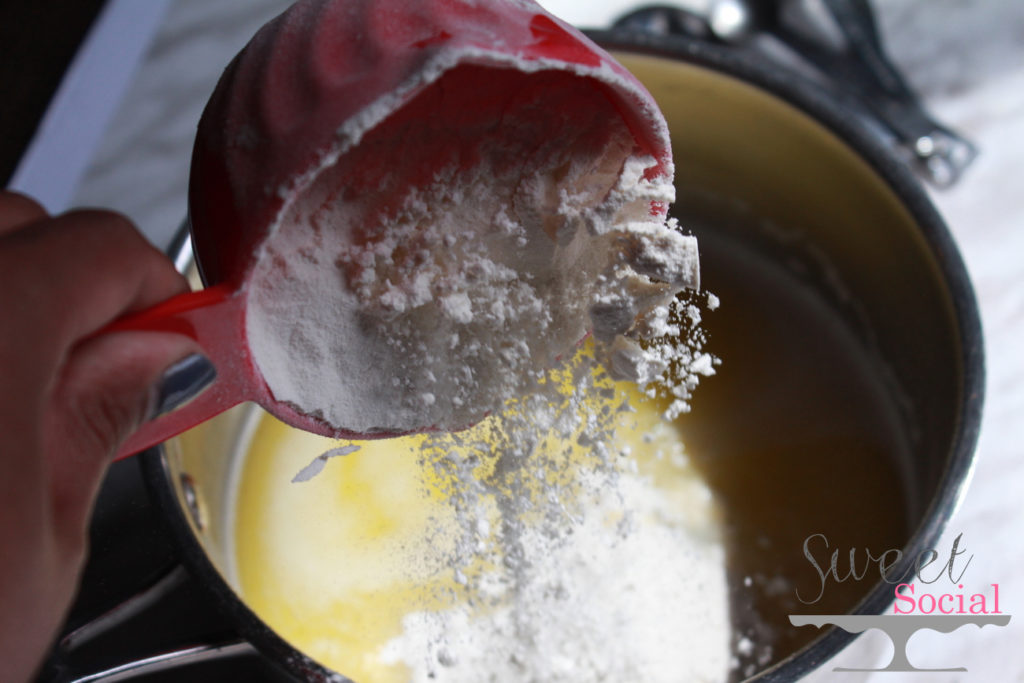
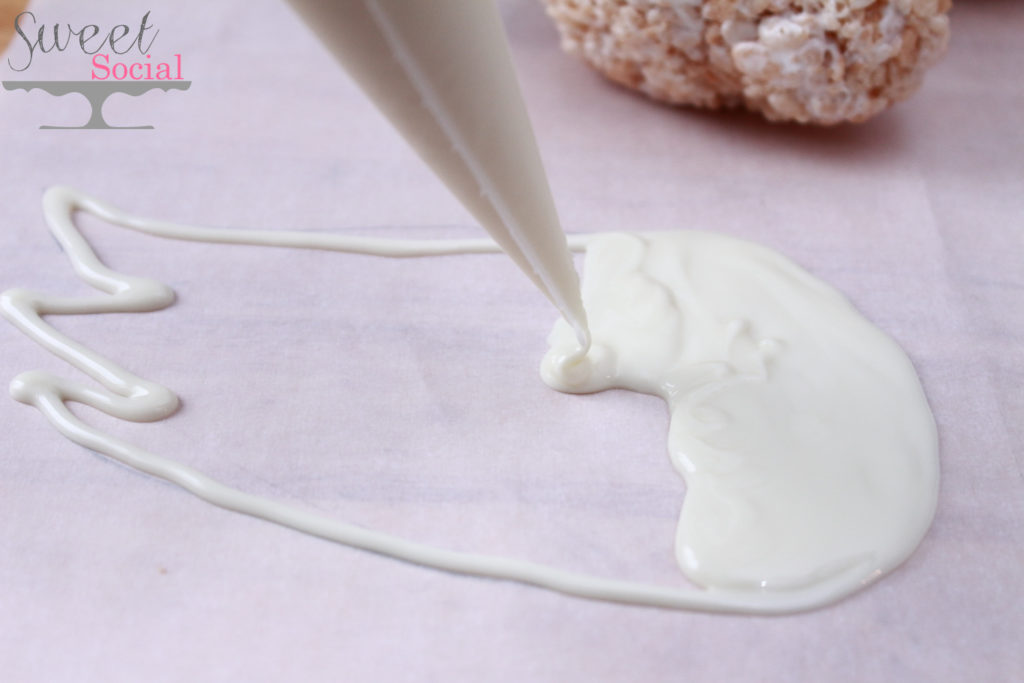
I usually make the traditional graham crust or oreo crumb crust, but a rainbow cake deserves a pink crust, of course! I couldn’t find any pink cookies anywhere, so we used Birthday cake flavoured Fruit Loops. They worked like a charm. Crushed them up and stirred it with some melted butter then baked it for a few minutes.

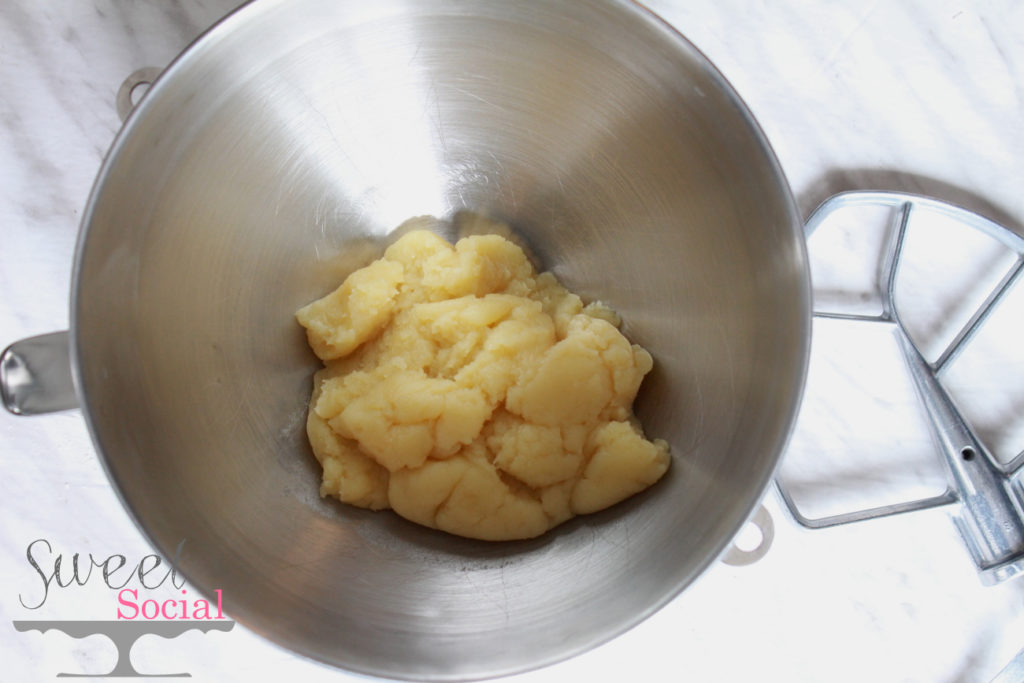
Pink crust magic!

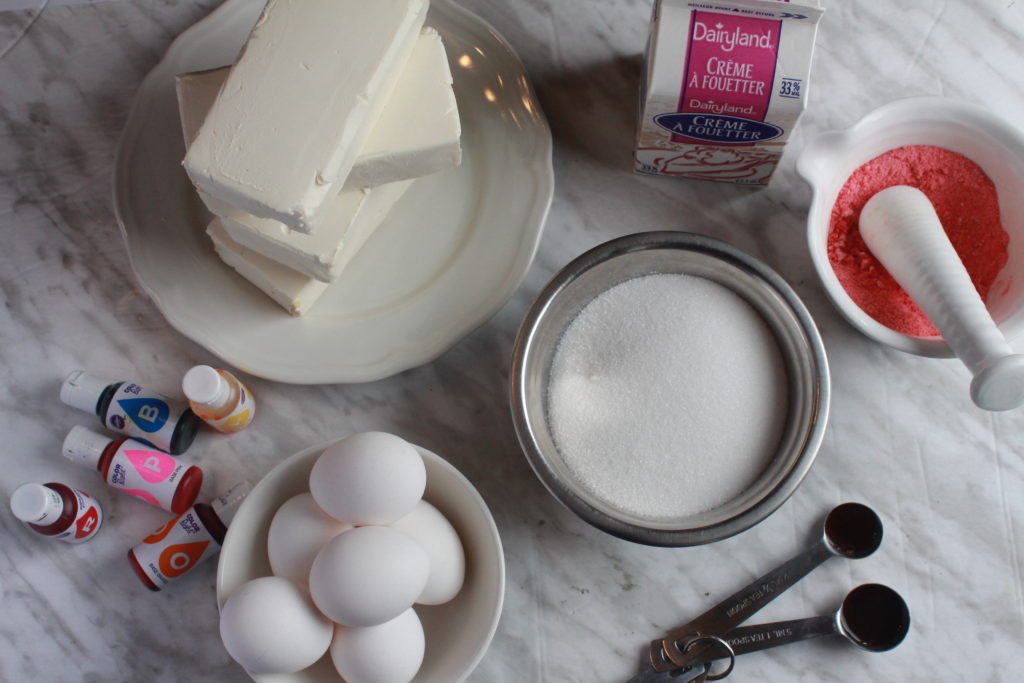
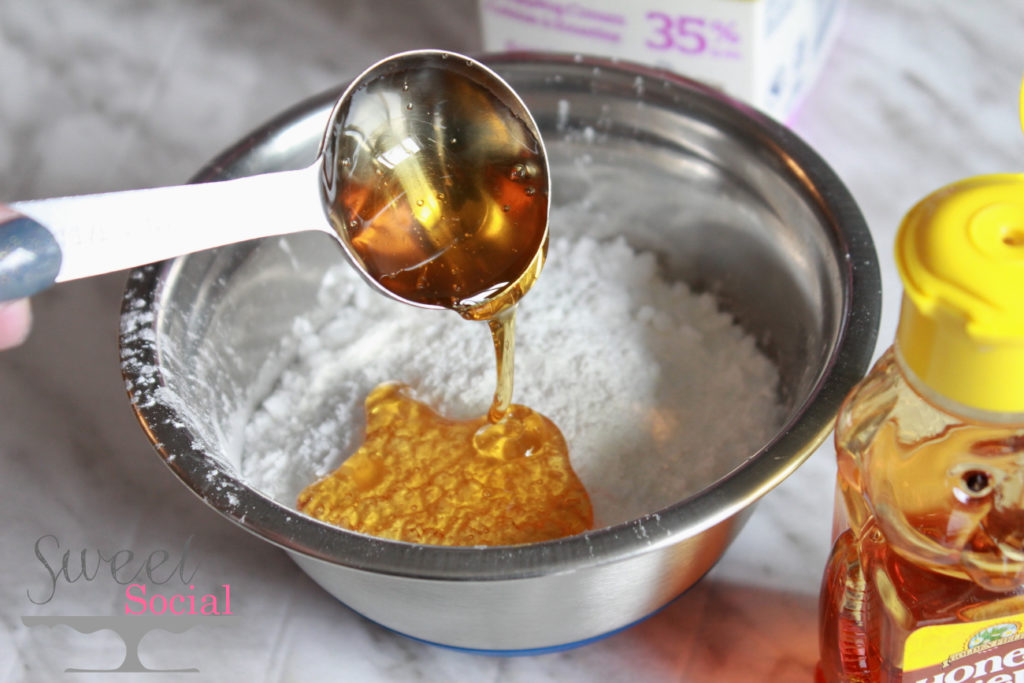
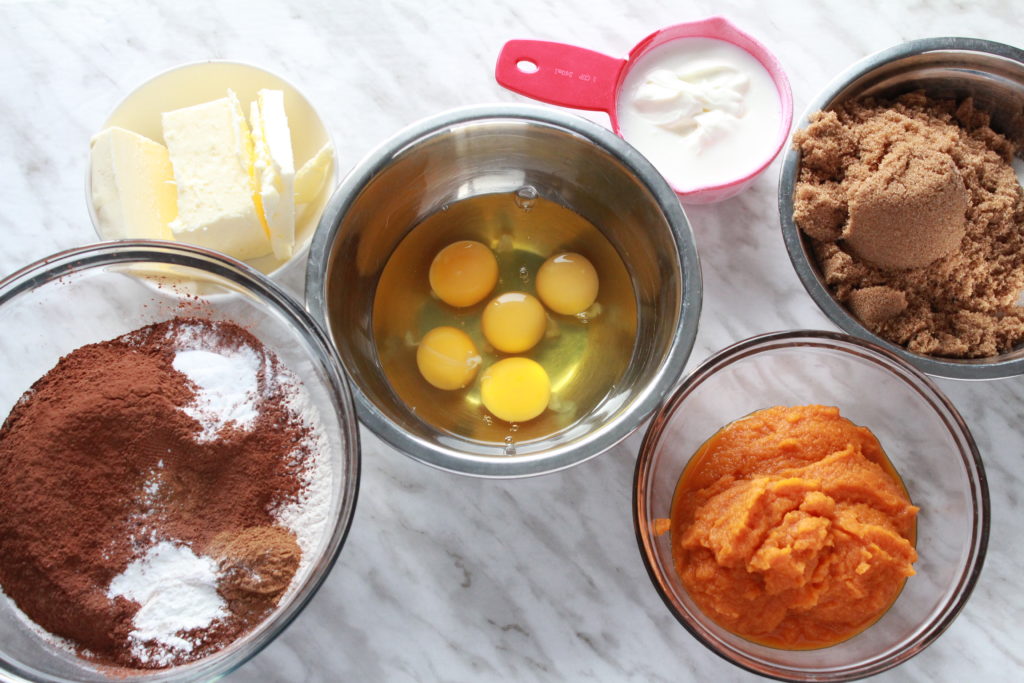
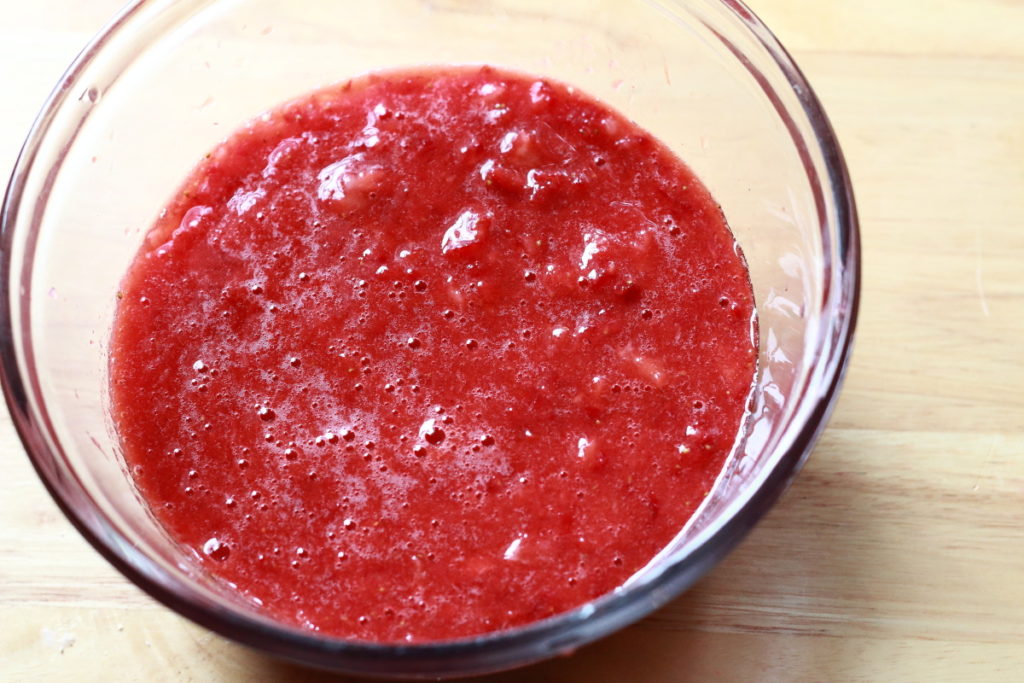
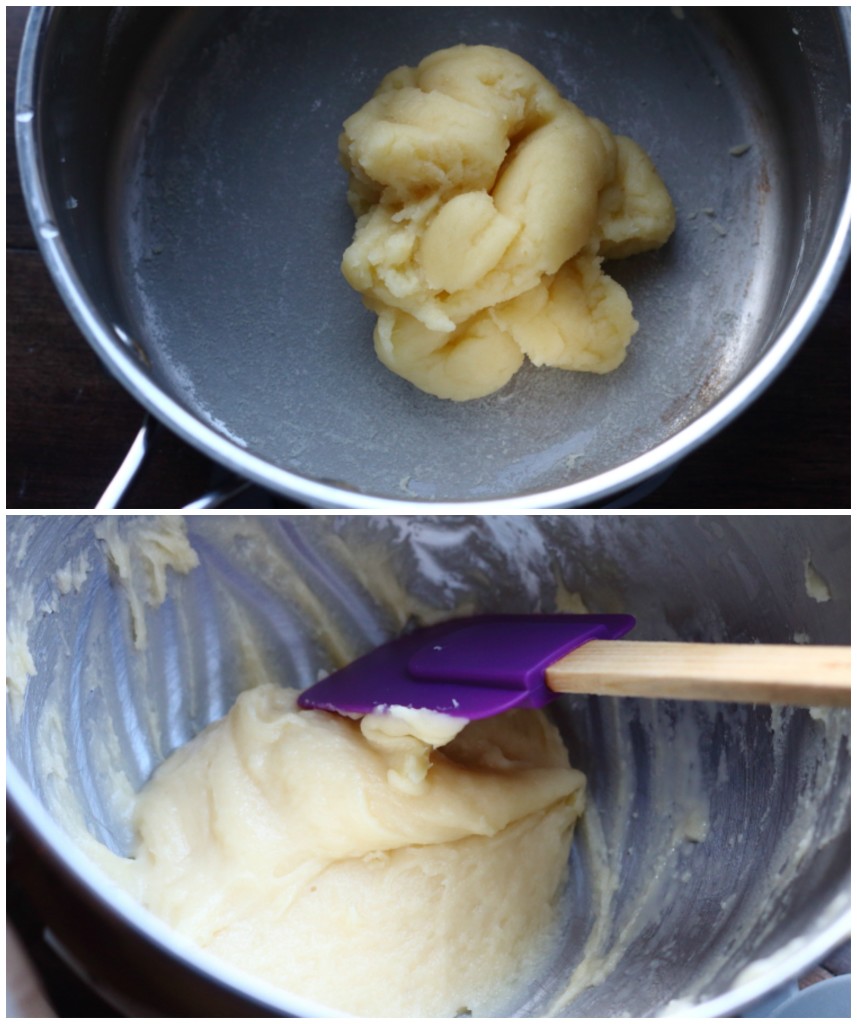
Cheesecake ingredients are simple and quick to bring together. When I’m in a real rush, I don’t even cream the sugar and cheese…I just dump all the ingredients into a bowl and mix it all up until it’s smooth and creamy.
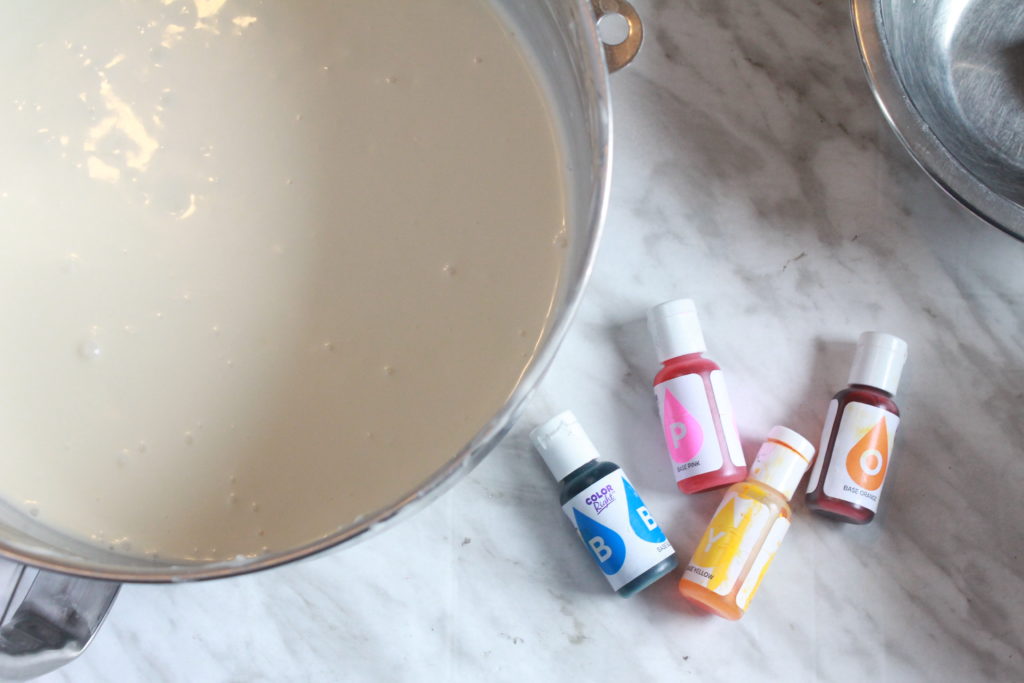
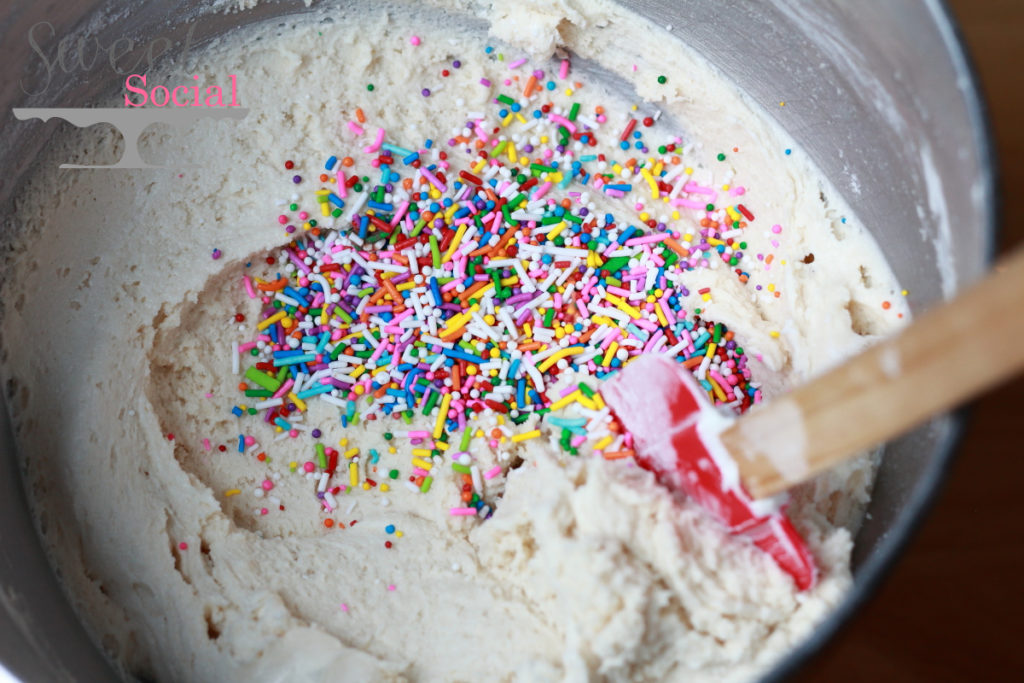
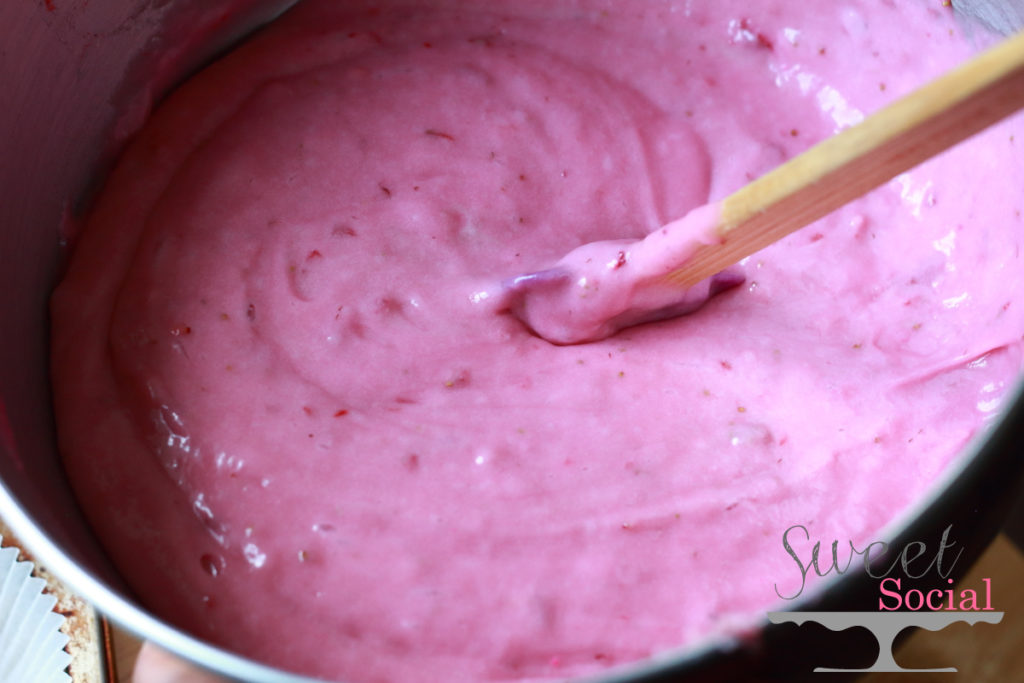
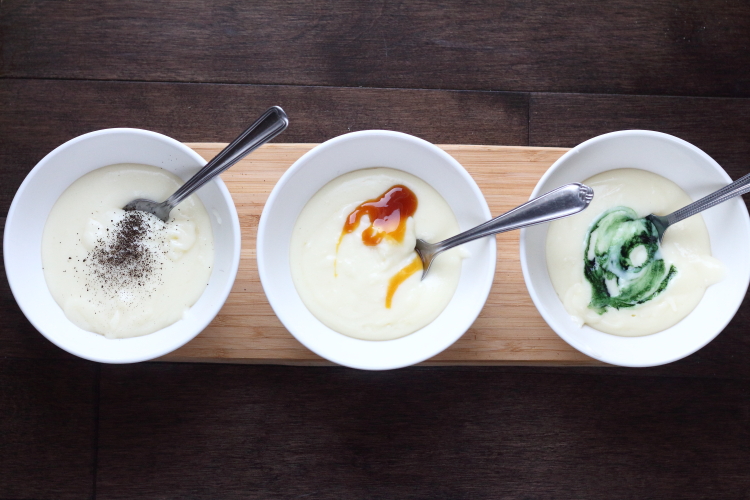
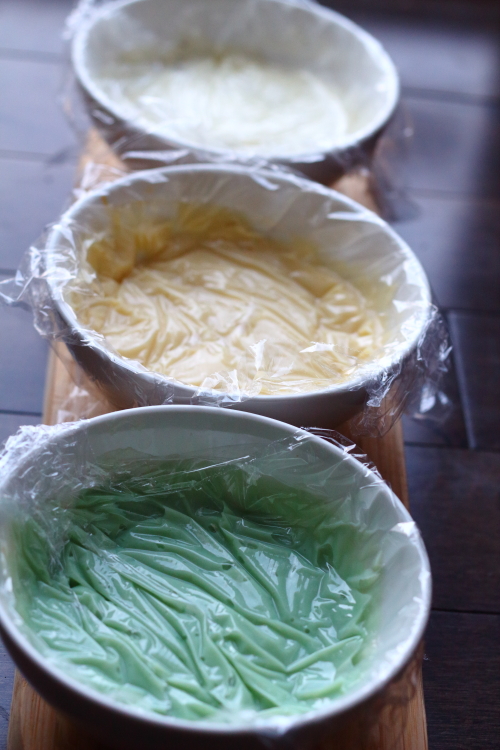
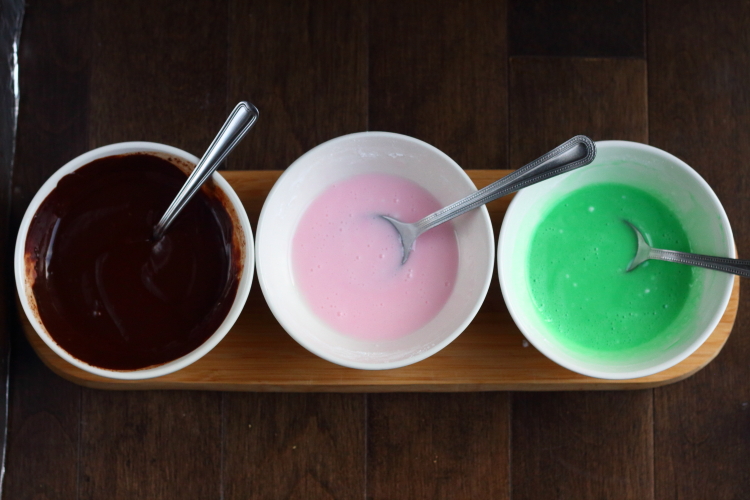
This time around, we divided the batter in a few bowls and Miss K coloured each to her liking with gel food colouring.
Mixing is her favourite part of anytime we are baking together. She’s been baking with me since she was about 2 years old. She always called herself a “maker”. I have an entire folder on my laptop dedicated to K in the kitchen. I might have to blog it sometime. It’s a special time when she and I are baking or making things together.

The colours were sure lots of fun!
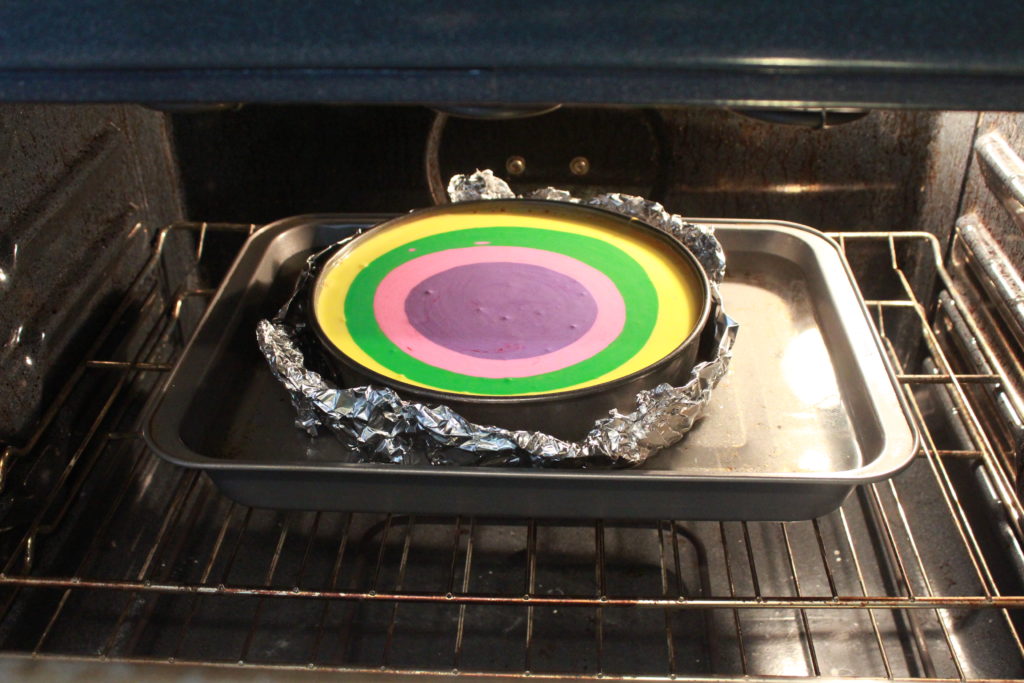
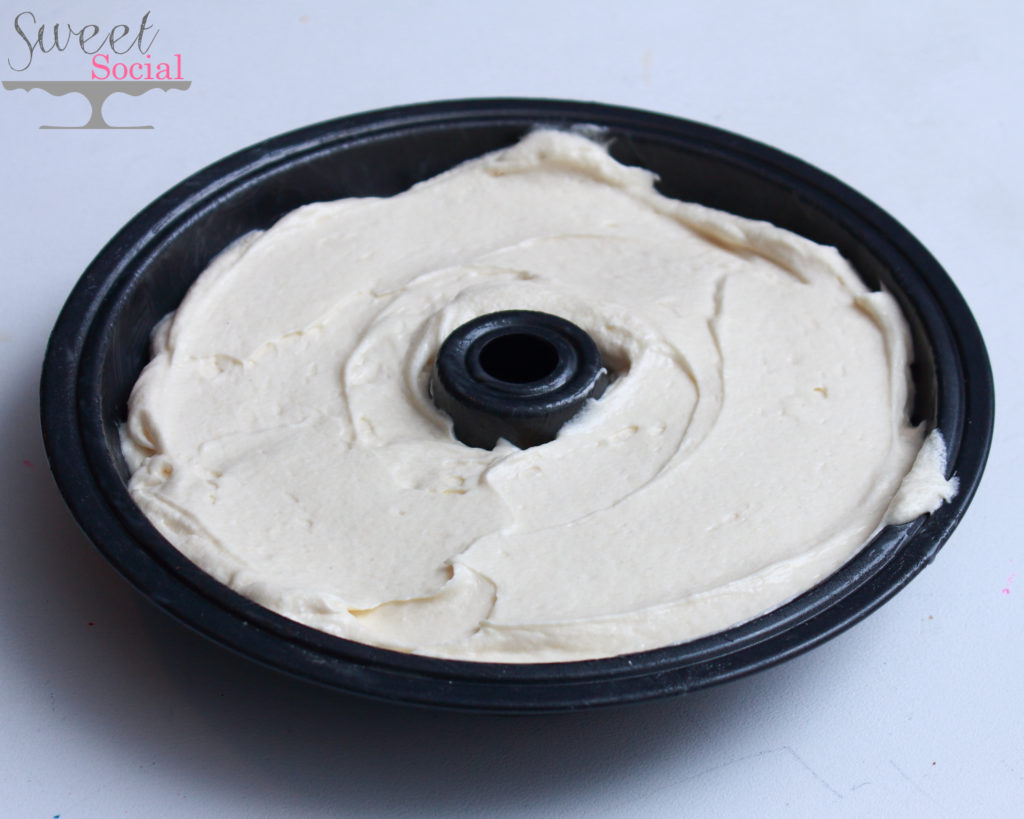
Then we simply poured each colour in, one at a time. I wasn’t exactly sure how it was going to turn out, but it sure looked cool going into the oven. It wasn’t until way after (like maybe as I type this blog haha) that I realize I could’ve had a bit more fun and swirled it all together! Dang! So if you do attempt this and do swirl the batter, please report back to let me know how it turns out! 😉
If you follow us on Instagram, you’ll see a little video she made of us pouring the batter into the baking pan HERE .
I have always baked cheesecake in a water bath. Have you tried without? Does it turn out?
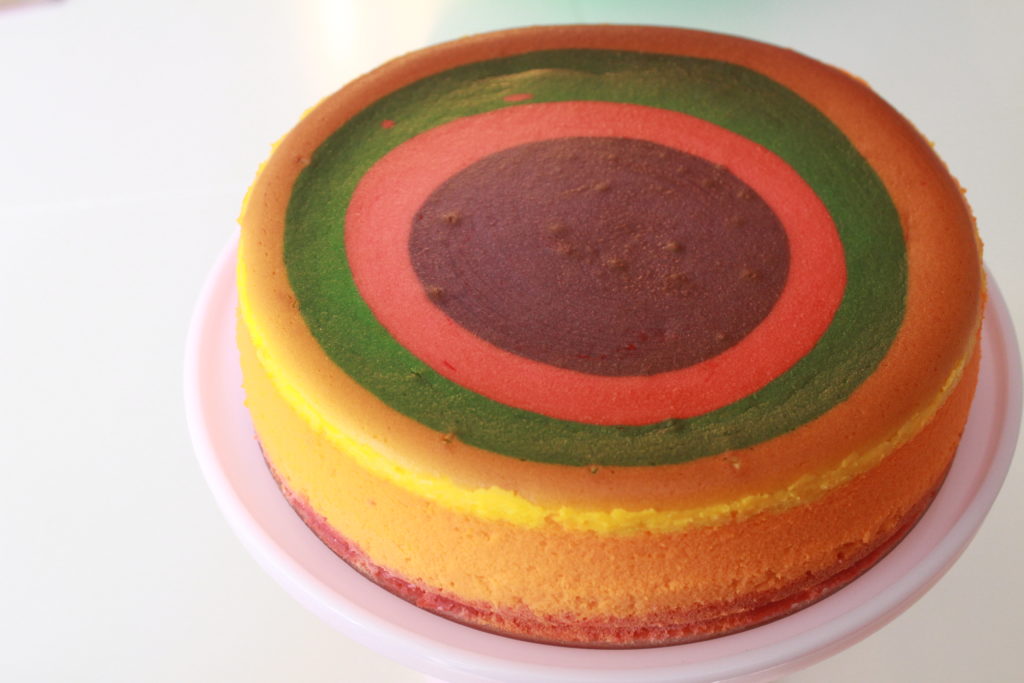
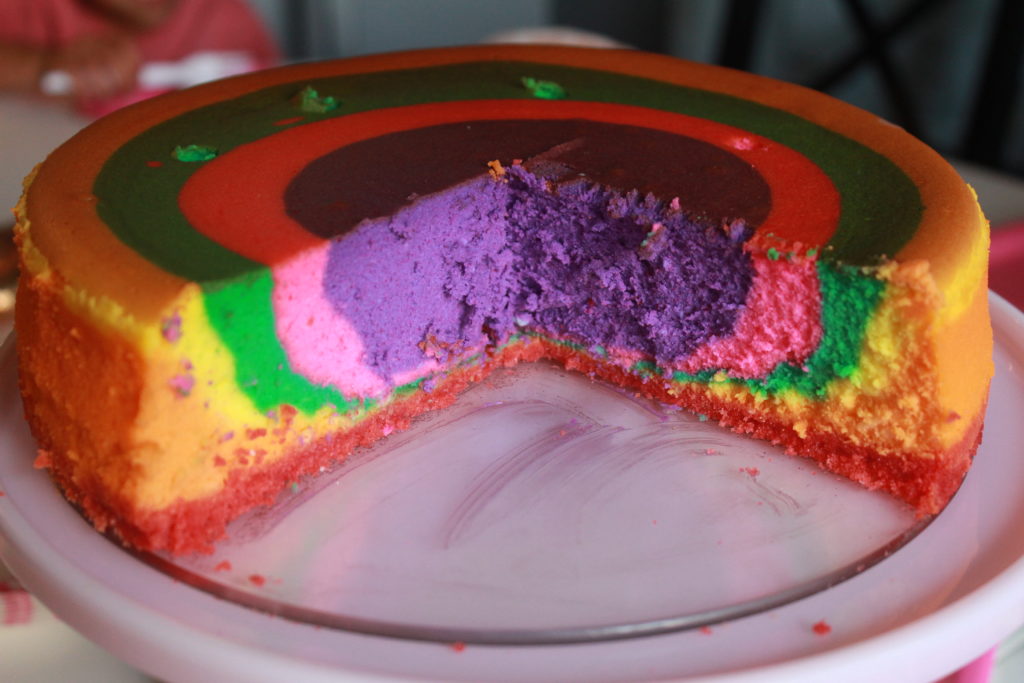
And THIS is how it looked once it was cut. And she was super stoked! Our guests were pretty impressed as well! Whoop!!!
Ingredients
- For the CRUST:
- 1 1/4 cups of crushed cookies, cereal or graham cracker crumbs
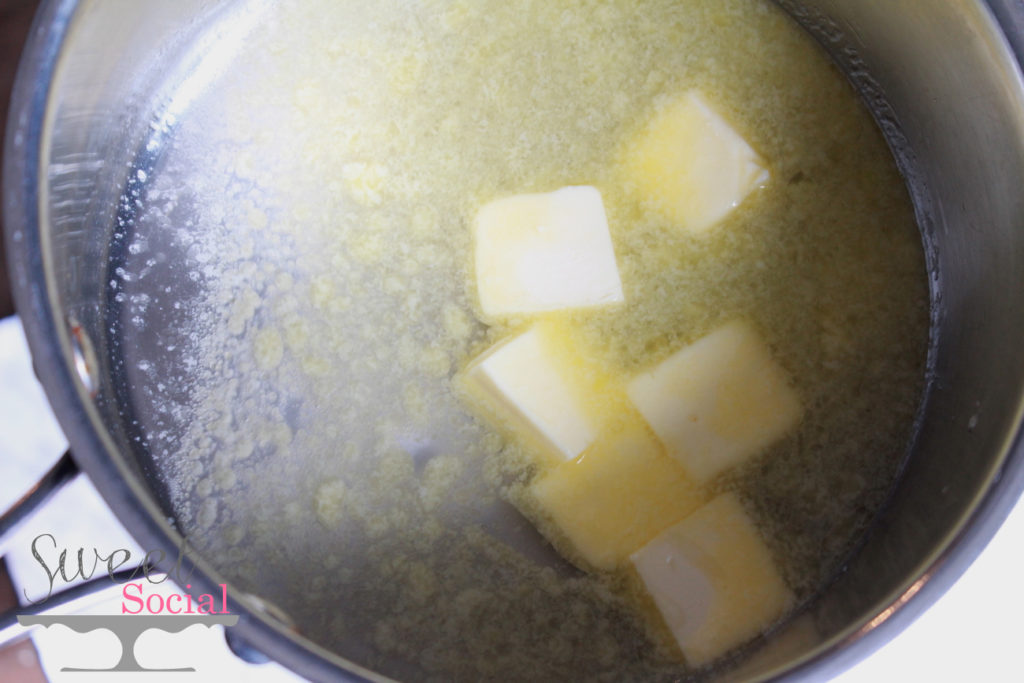
- 1/4 cup butter, melted
- For the CAKE:
- 4 bricks of cream cheese
- 1 1/2 cups of sugar
- 6 large eggs
- 3/4 cup heavy cream (whipping cream)
- 1 1/2 tsp pure vanilla extract
Instructions
- Preheat the oven to 350F
- For the crust: mix the graham crackers and the butter and pat the mixture down into the cake pan. Bake for 10 mins then allow to cool.
- For the cake: mix the cream cheese and sugar until smooth and fluffy.
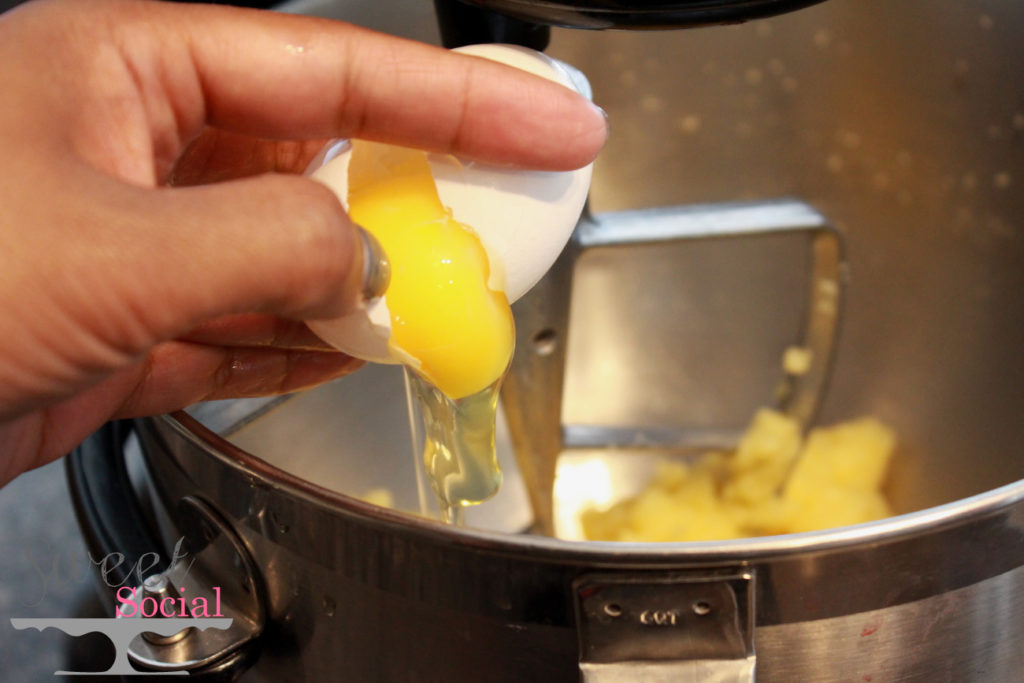
- Add the eggs one at a time.
- Slowly pour in the heavy cream.
- Mix in the vanilla.
- Optional:To add the colours, divide the batter into a few bowls and colour with gel food colouring. Pour one colour at a time into the cake pan.
- Wrap the bottom of the pan in tin foil or plastic wrap
- Place the cake pan in a larger baking pan and fill the pan with 1" of boiling water,
- Bake the cheesecake for approximately 1 hour and 15 mins. It is done when still slightly giggly. Allow the cheesecake to cool in the oven (turned off, with the door slight open. This will help prevent the top of your cheesecake from cracking.


 My girl just loves her Teddy. She actually got him from a home during trick or treating a couple years ago. I need to find it’s twin because this poor guy has been cuddled and dragged and thrown around all around town. But, she loves him so.

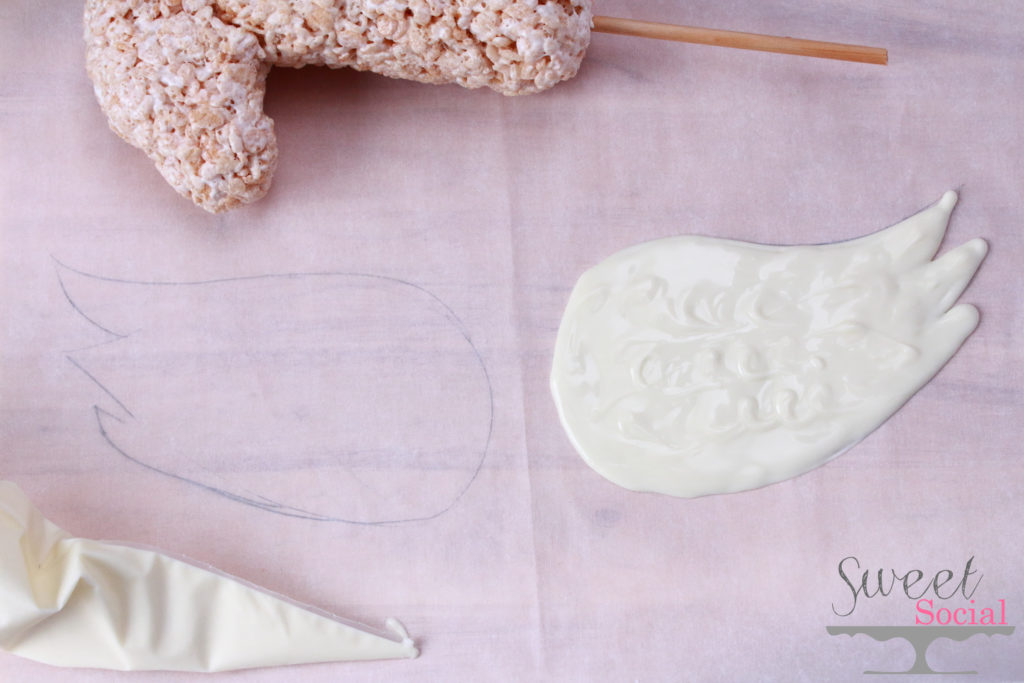
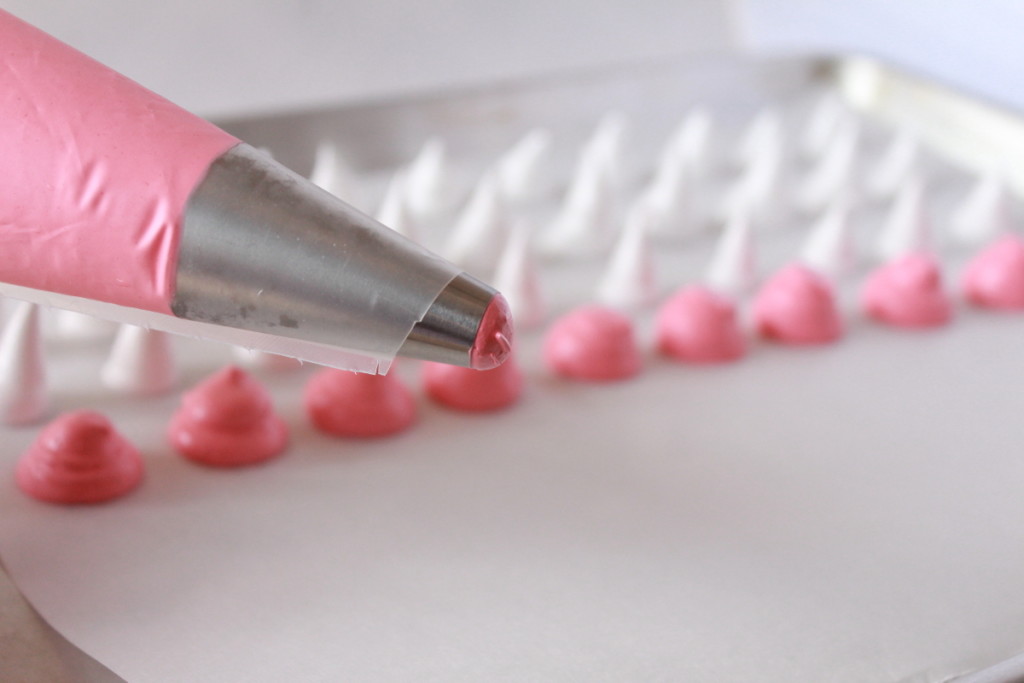
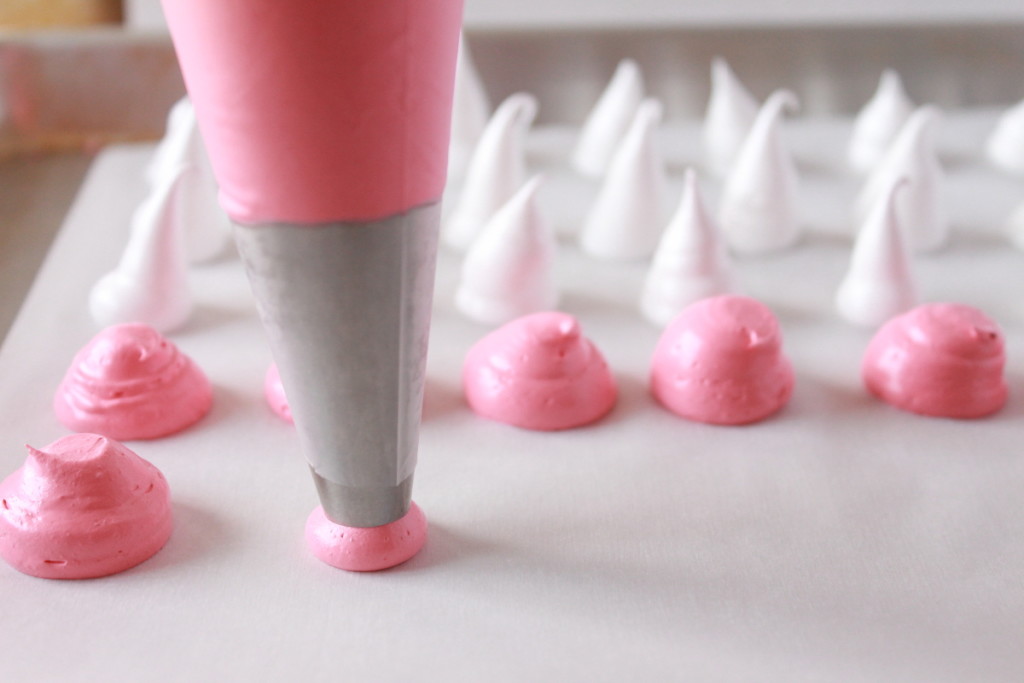
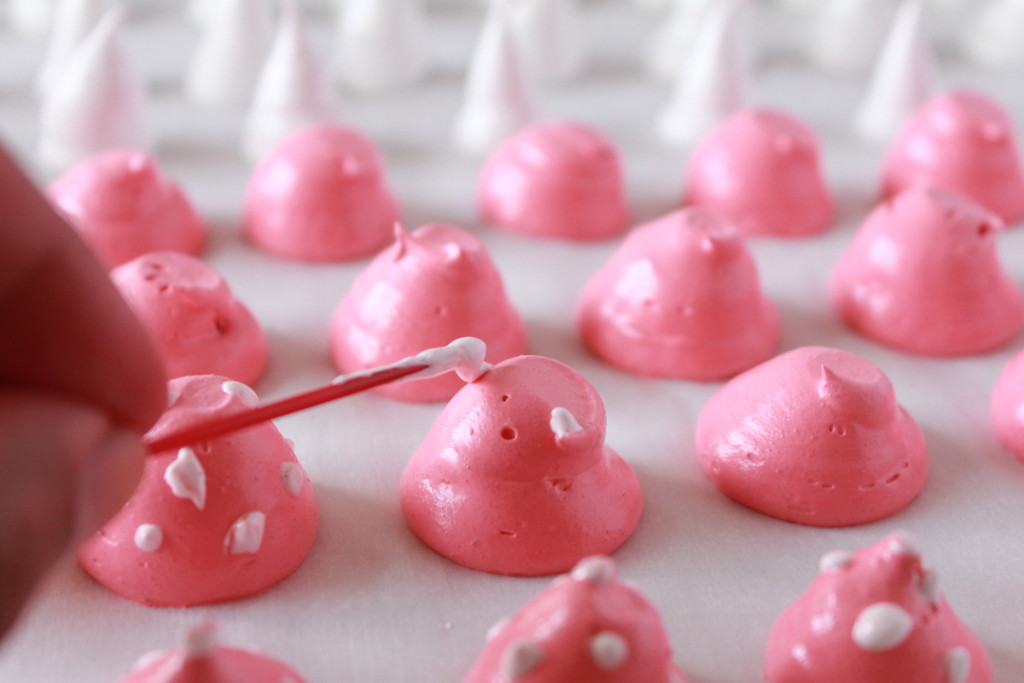
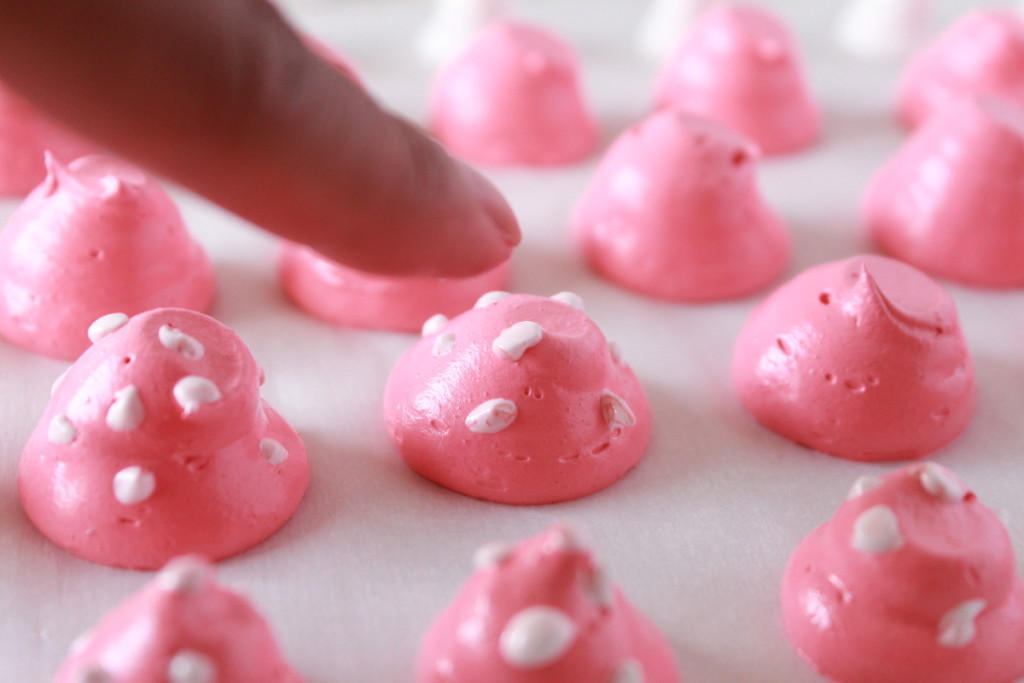
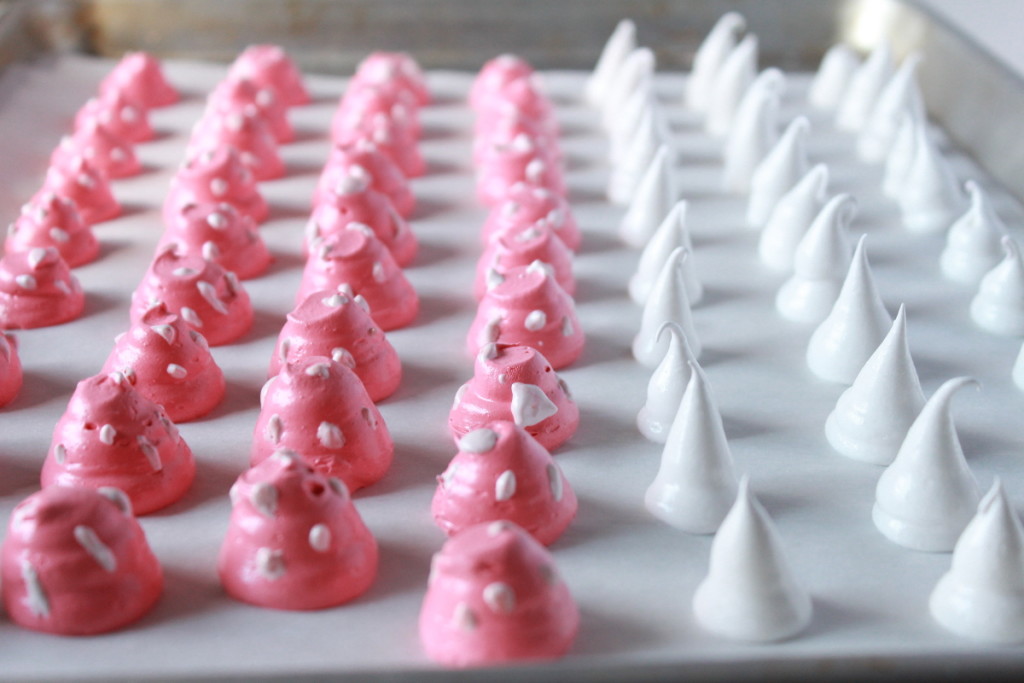
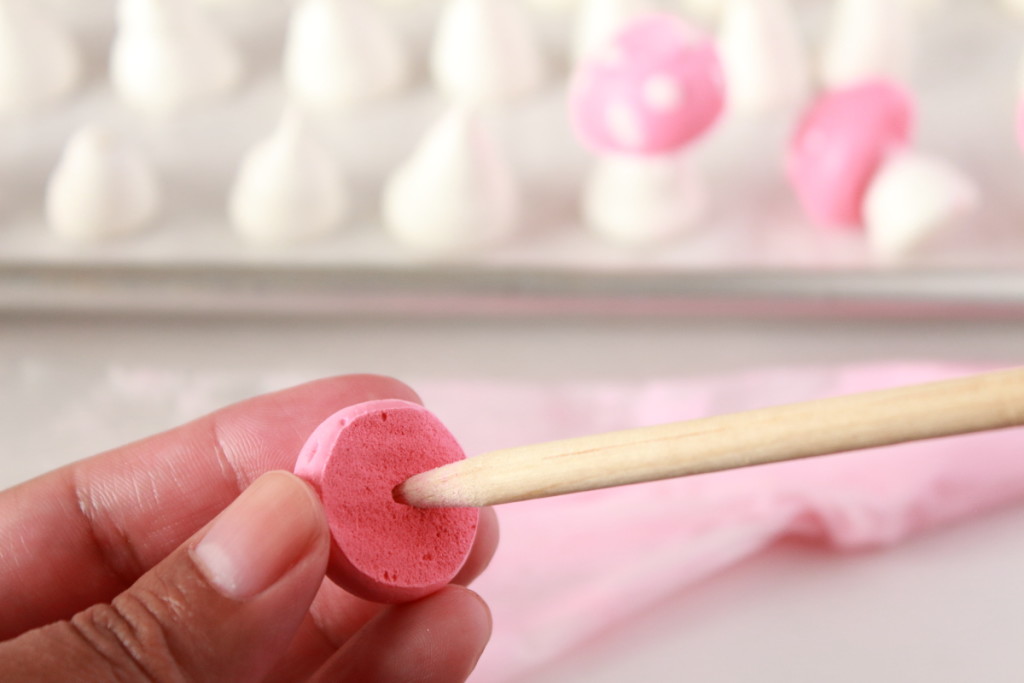
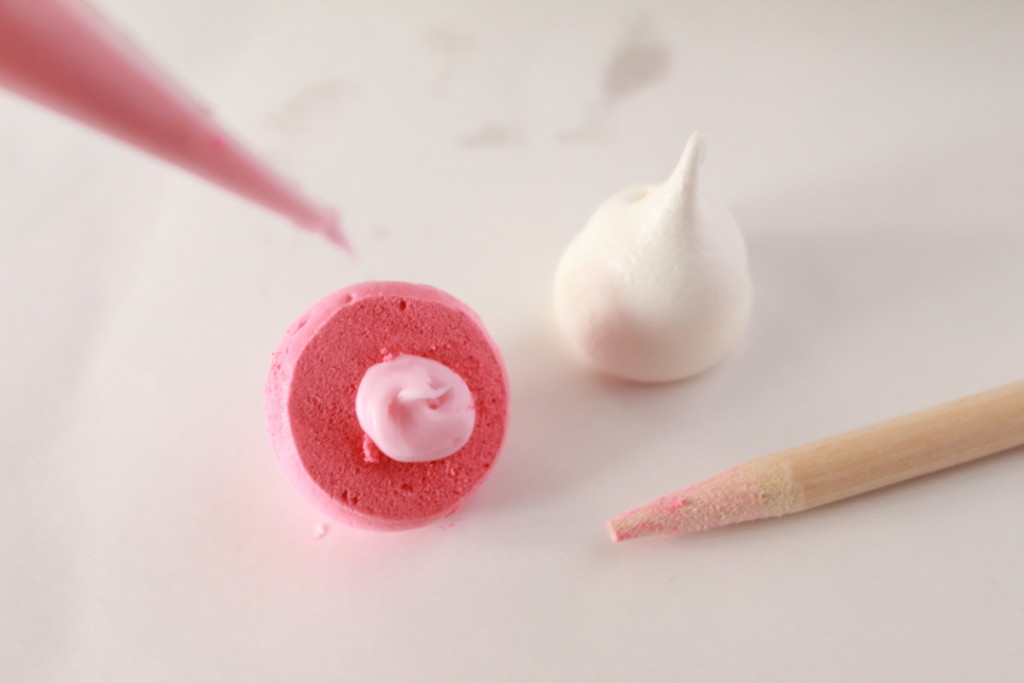
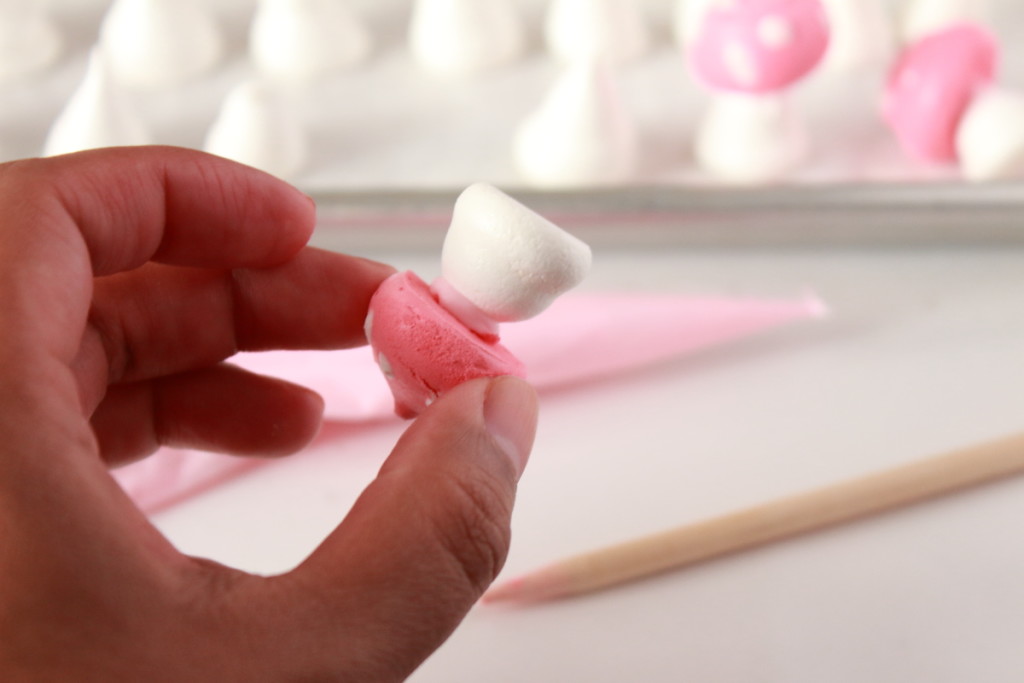
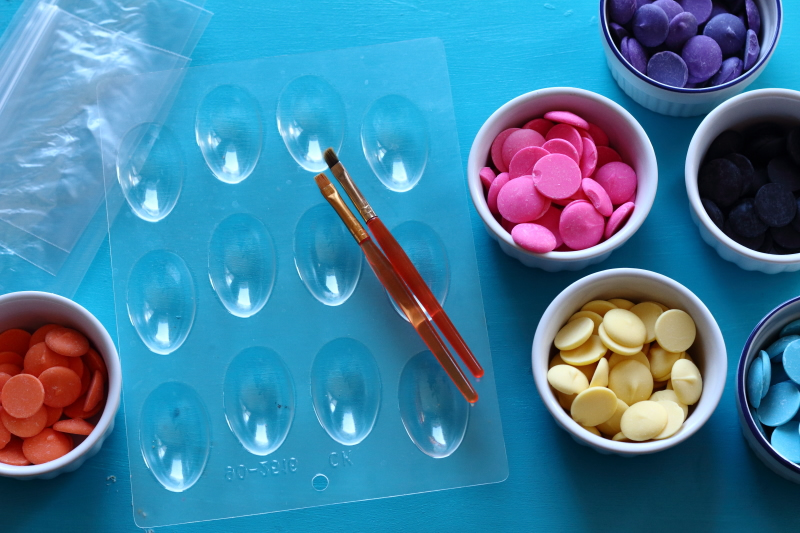
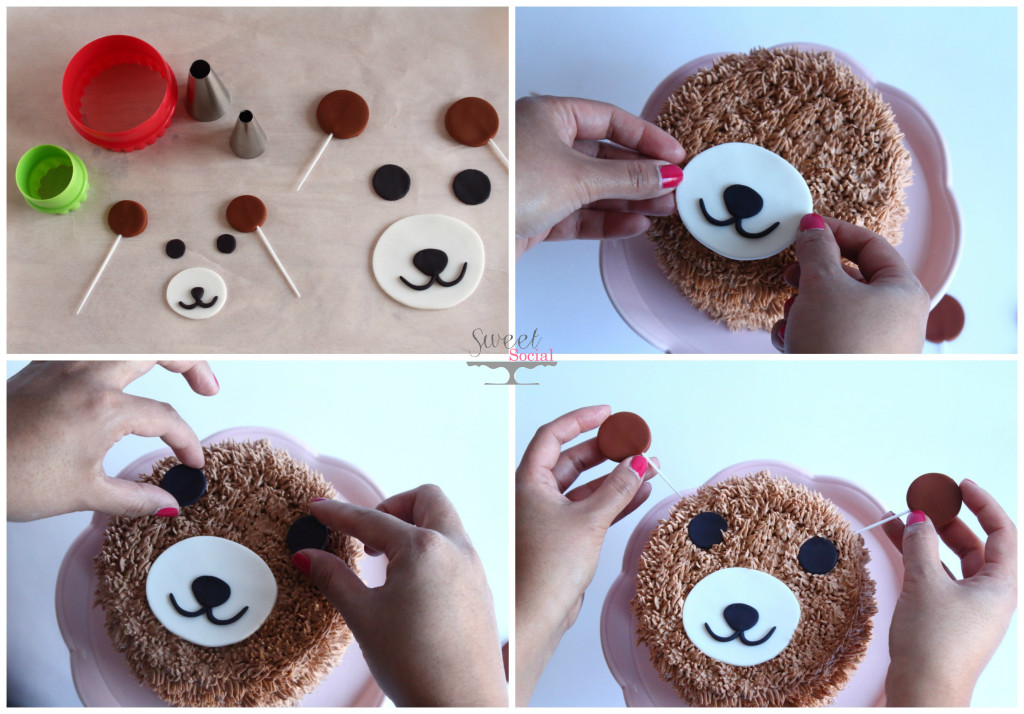
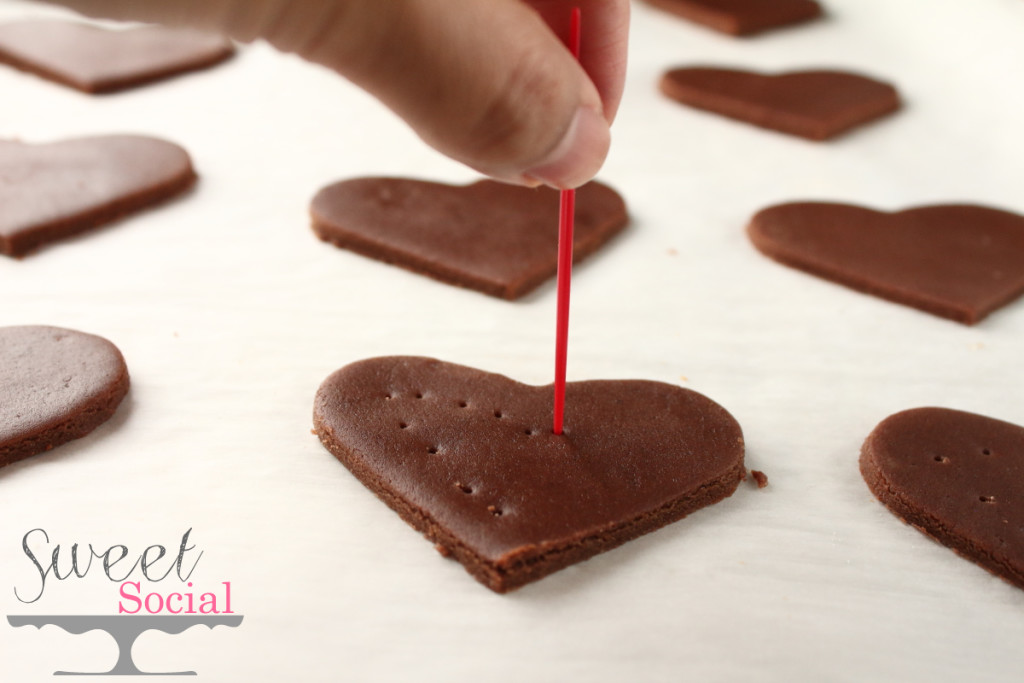
 You could also pipe the details of the bear face, bit to stay true to the inspiration, I made the little pieces the day before. Just remember to push toothpicks into the circles for the ears. For the Momma bear cake, I used about 1.5″ circle for the ears and 1″ for the baby ears. The snout for the momma bear was a 3″ circle and then I gently pulled the fondant for to make a slight oblong shape. I used a 1.5″ circle for the baby bear snout. For the eyes, I used whatever round tips I had laying around. Let them dry overnight so they don’t warp when being placed on the cake.
 Here’s Kenna debuting her first cake decorating tutorial! It’s pretty friggen cute! Daddy and I may have watched this video a few times over.
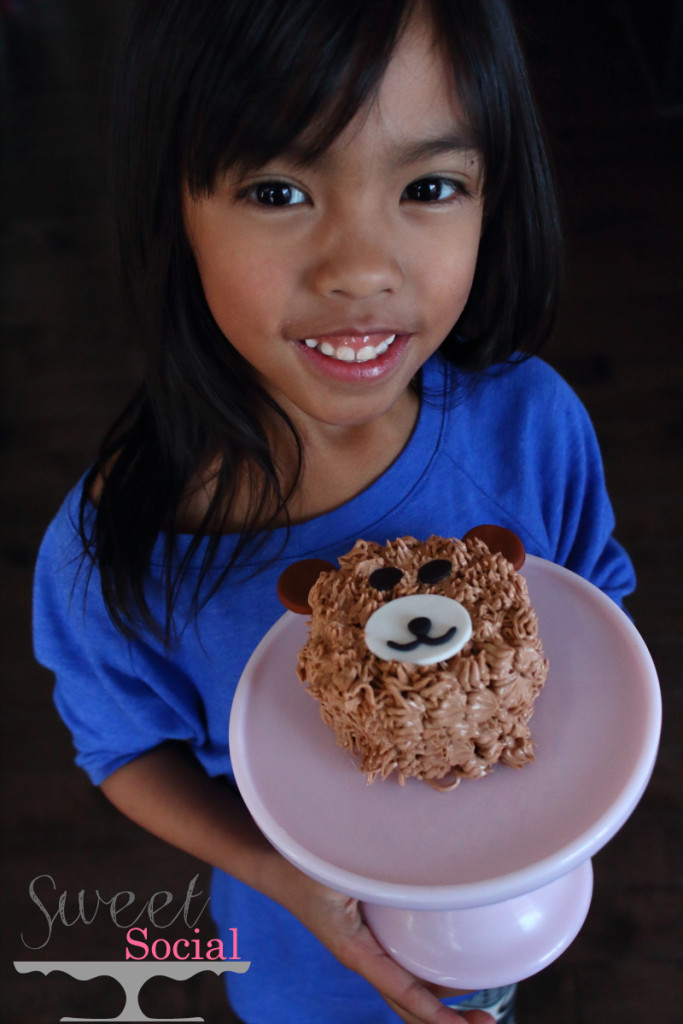
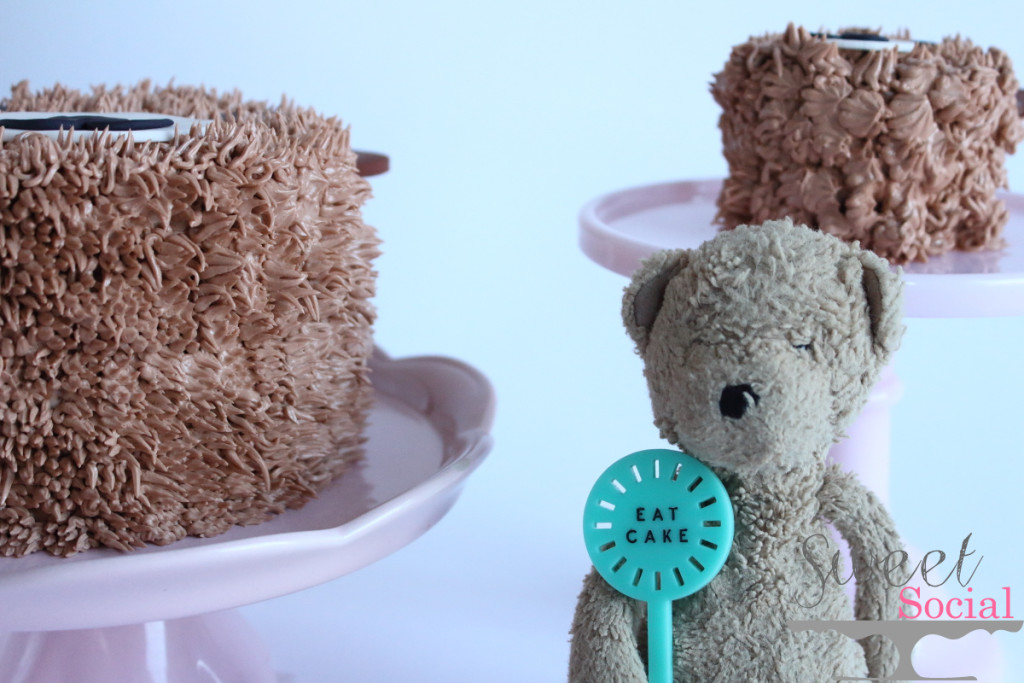
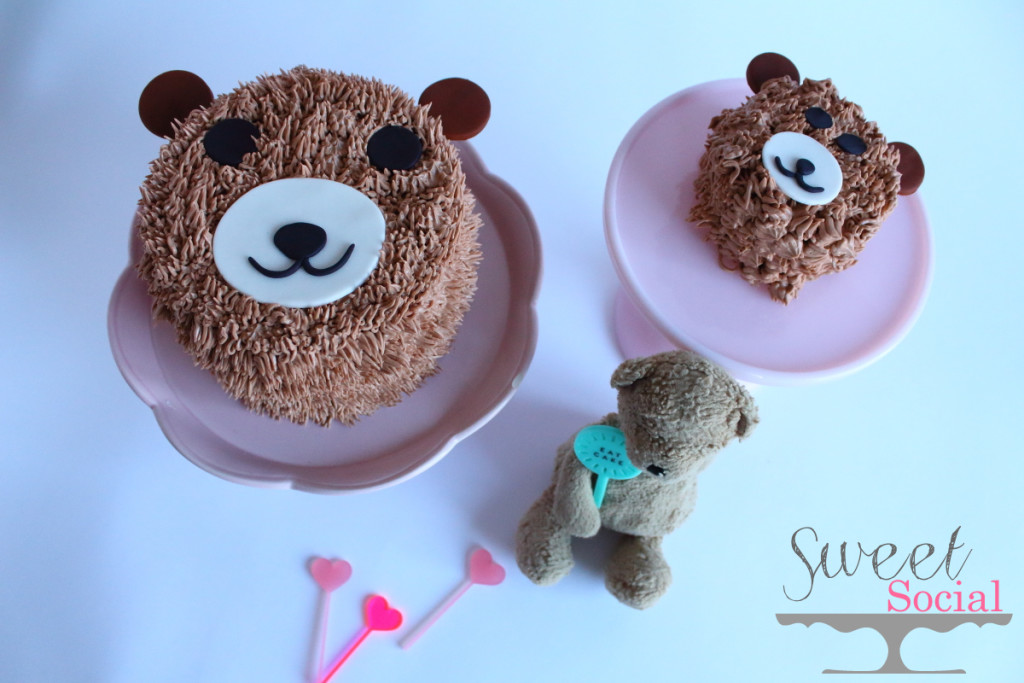 Do as Teddy says and “Eat Cake!”
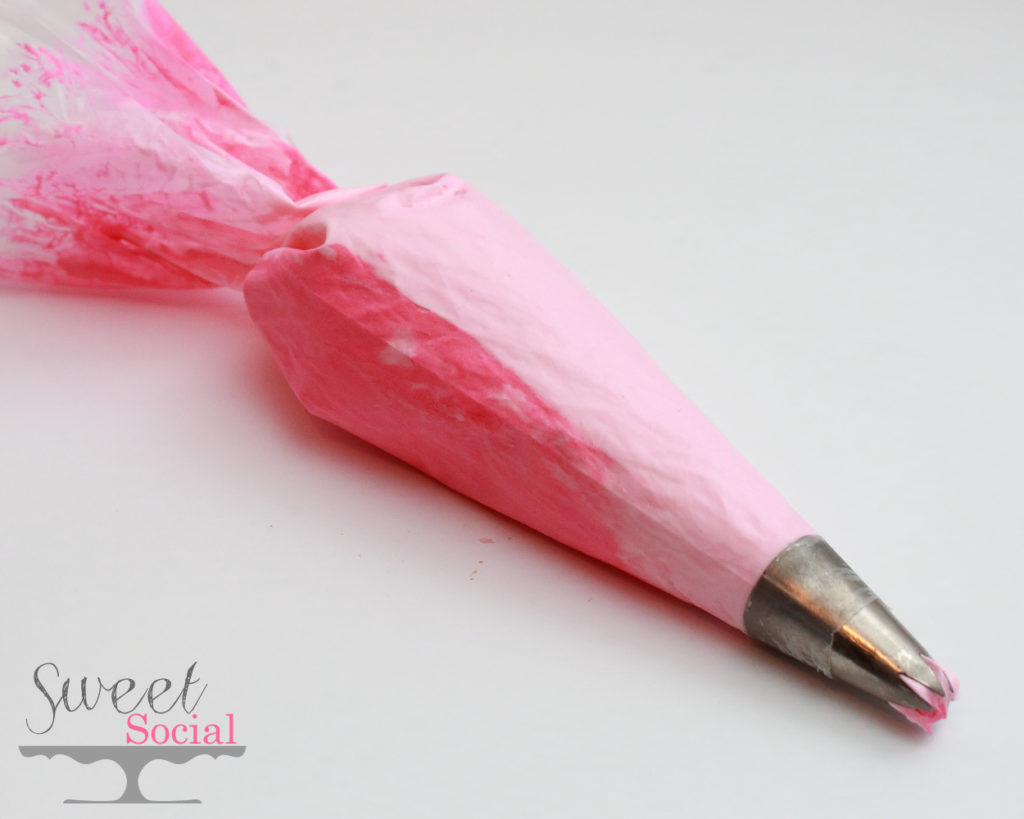
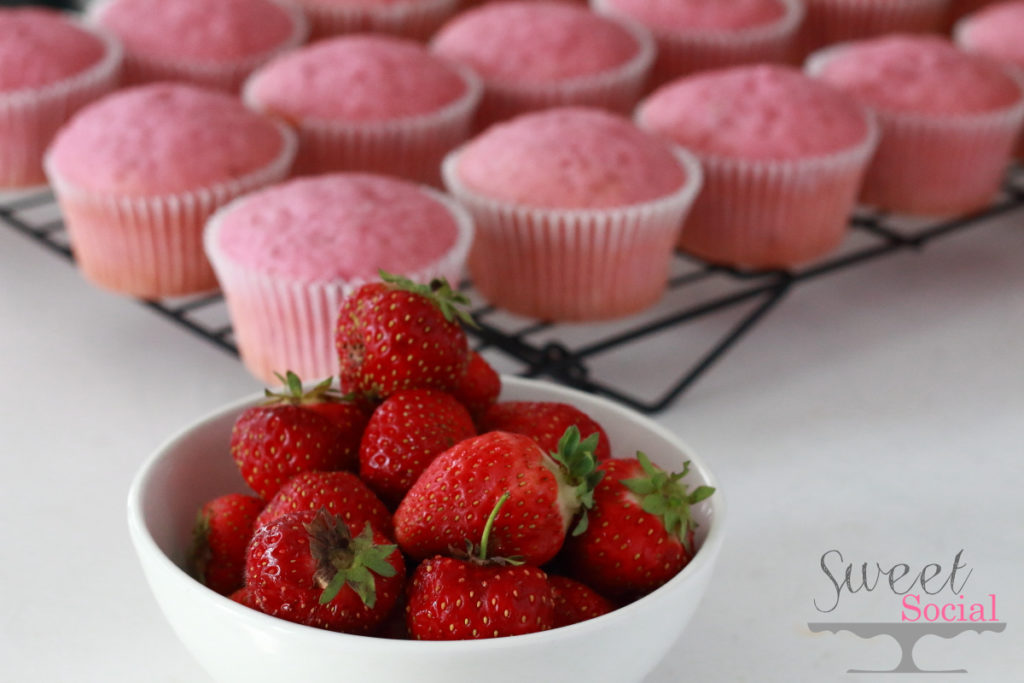
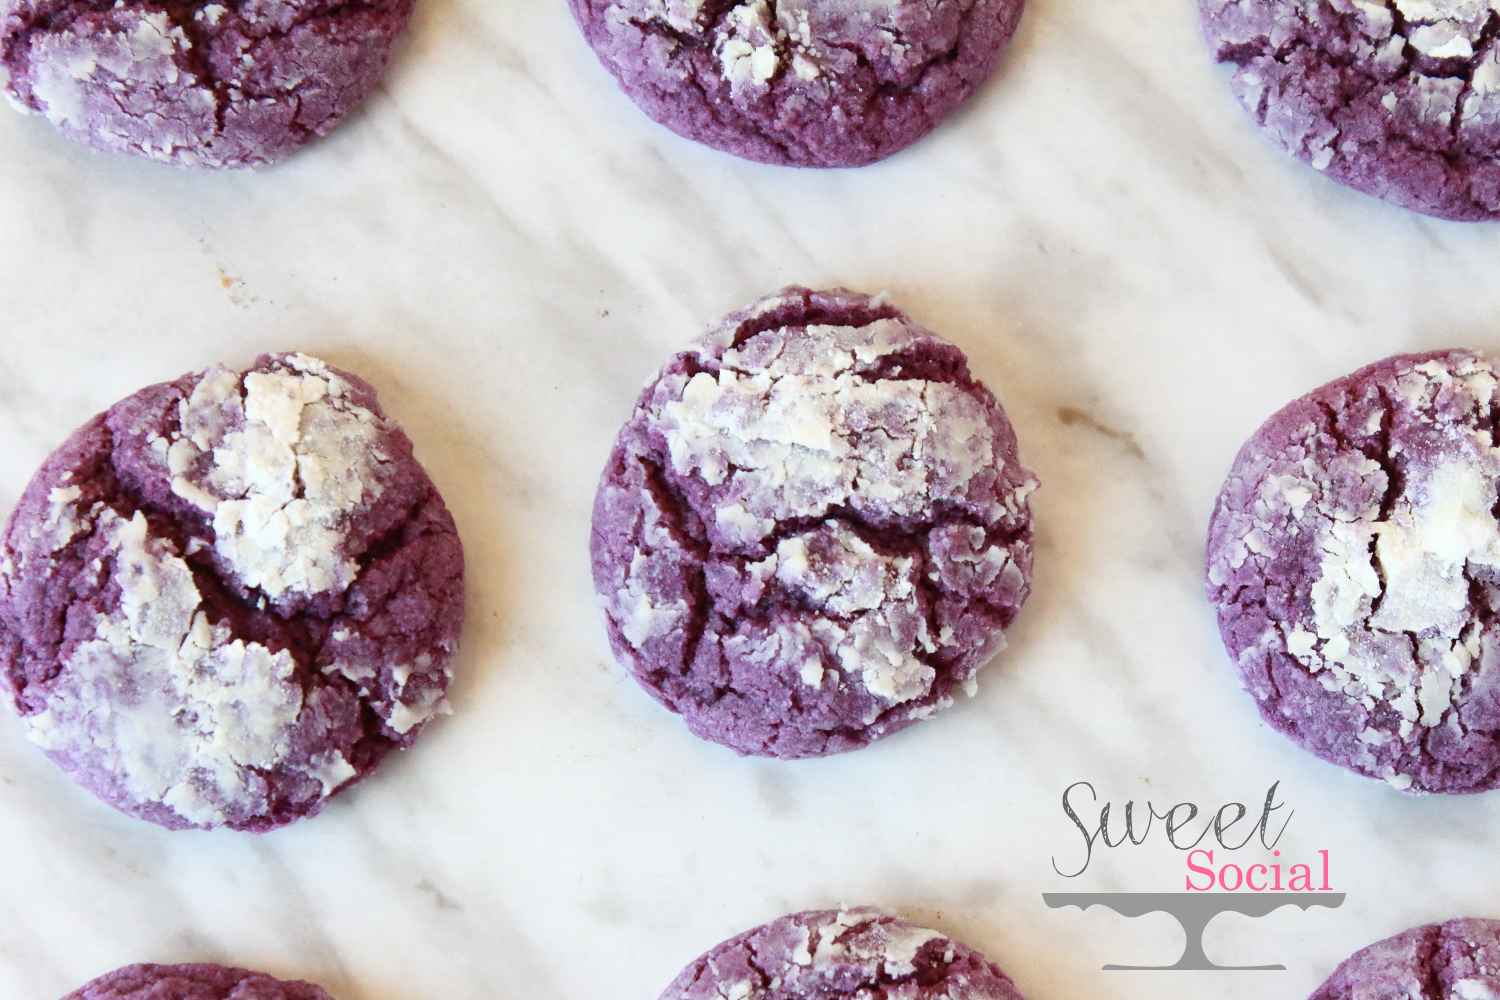
 Teddy was a delicious pink velvet cake. I’ll save this recipe as an exclusive recipe for pre-ordering my book…more on that soon! 😉 Happy caking!
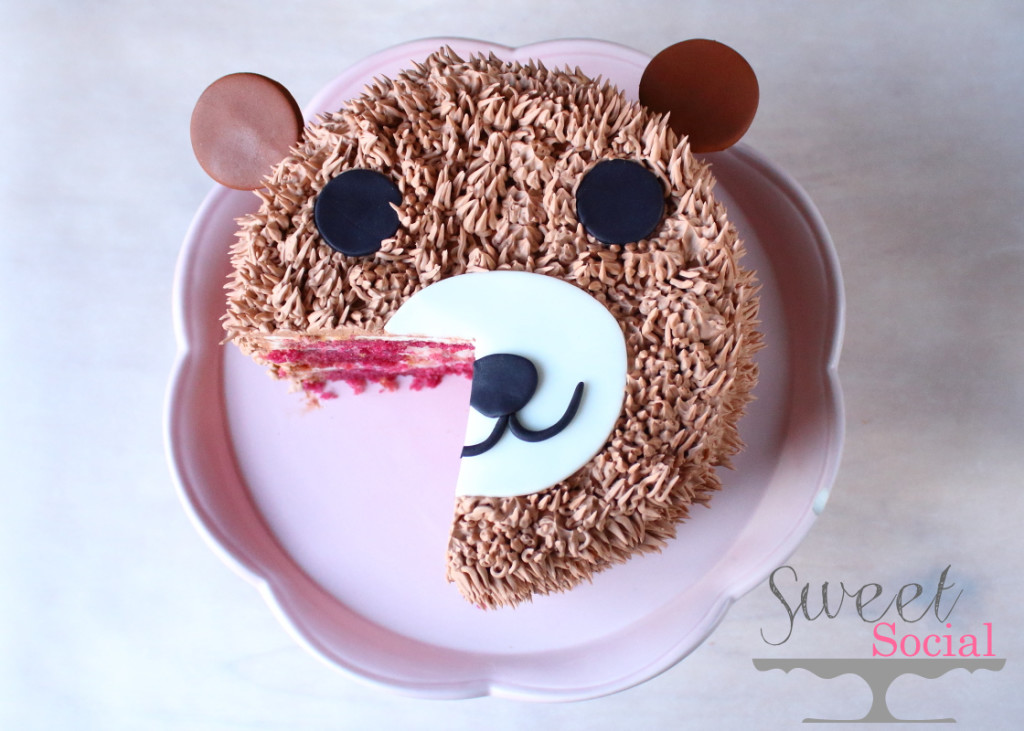
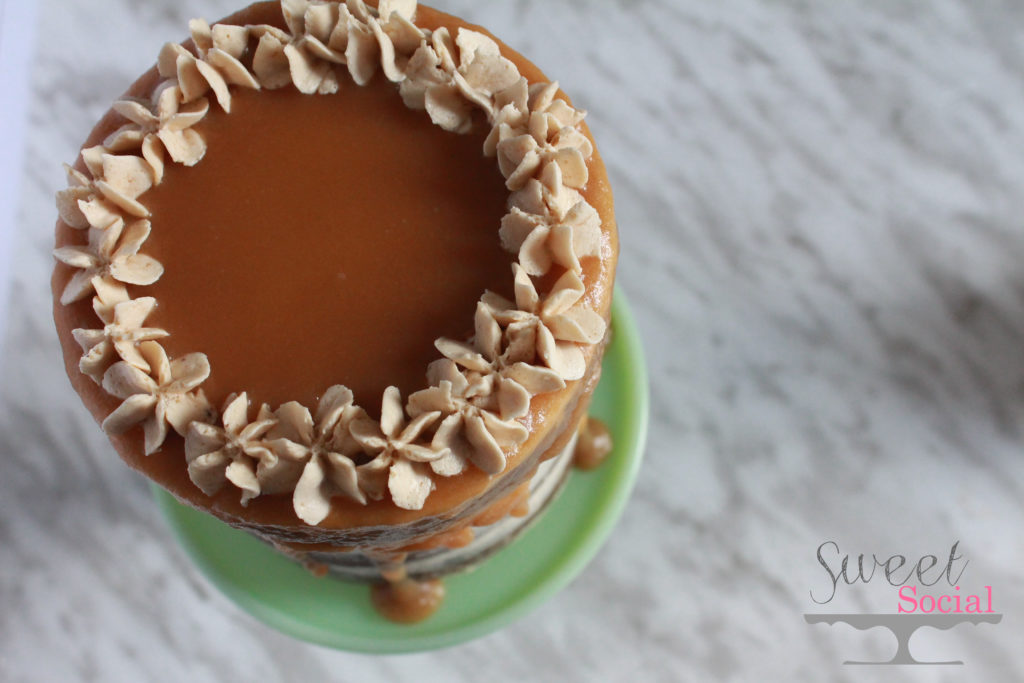
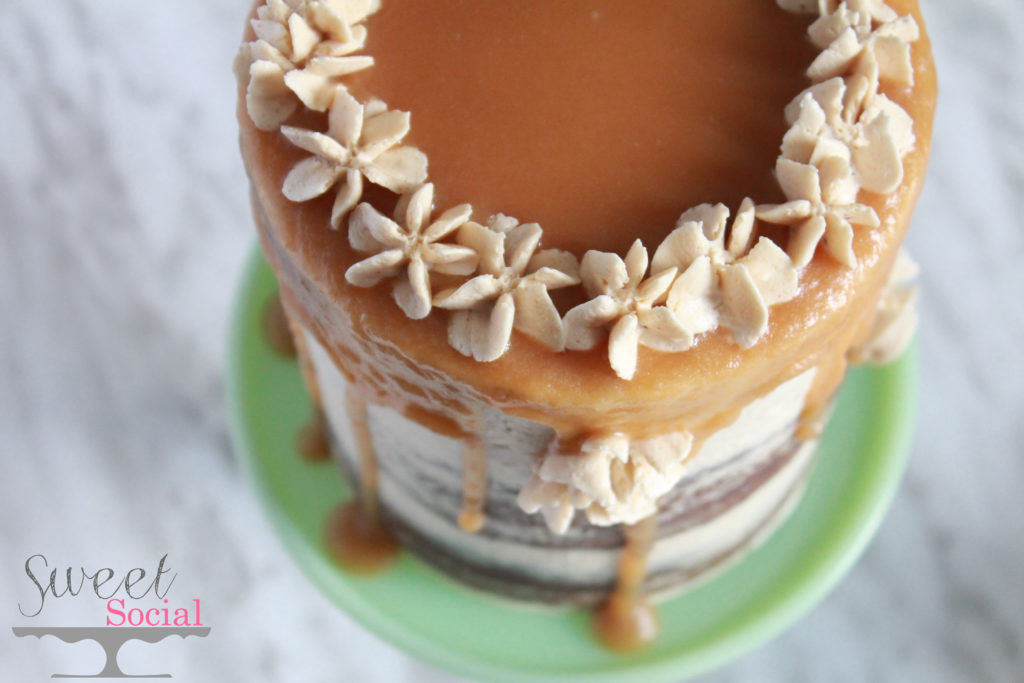
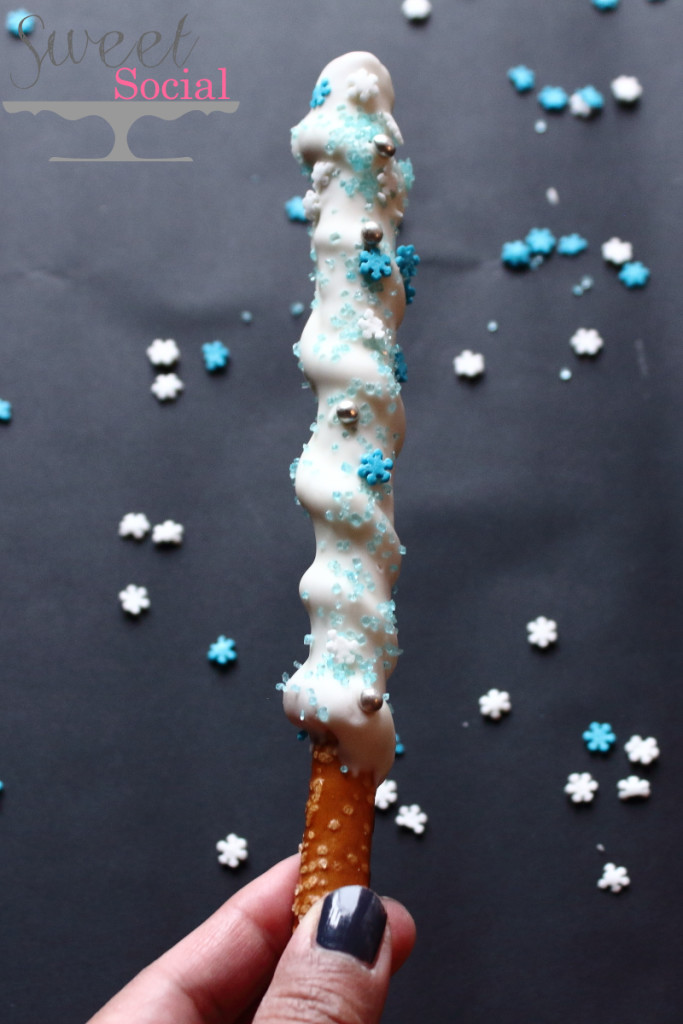
 Pretty, right? Simple, right? Delicious, right?


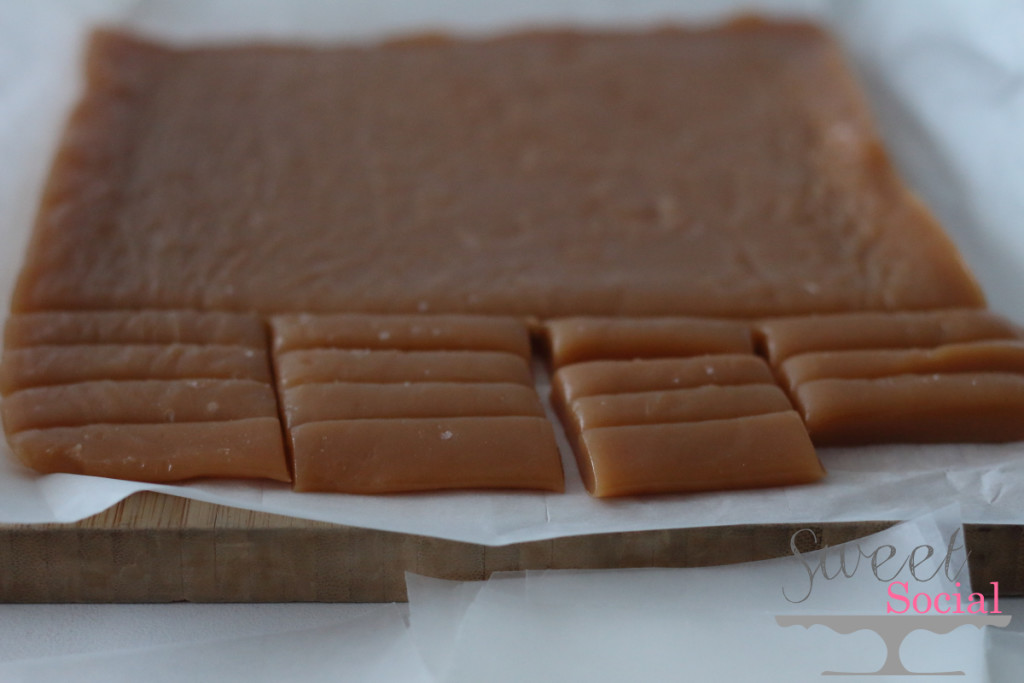
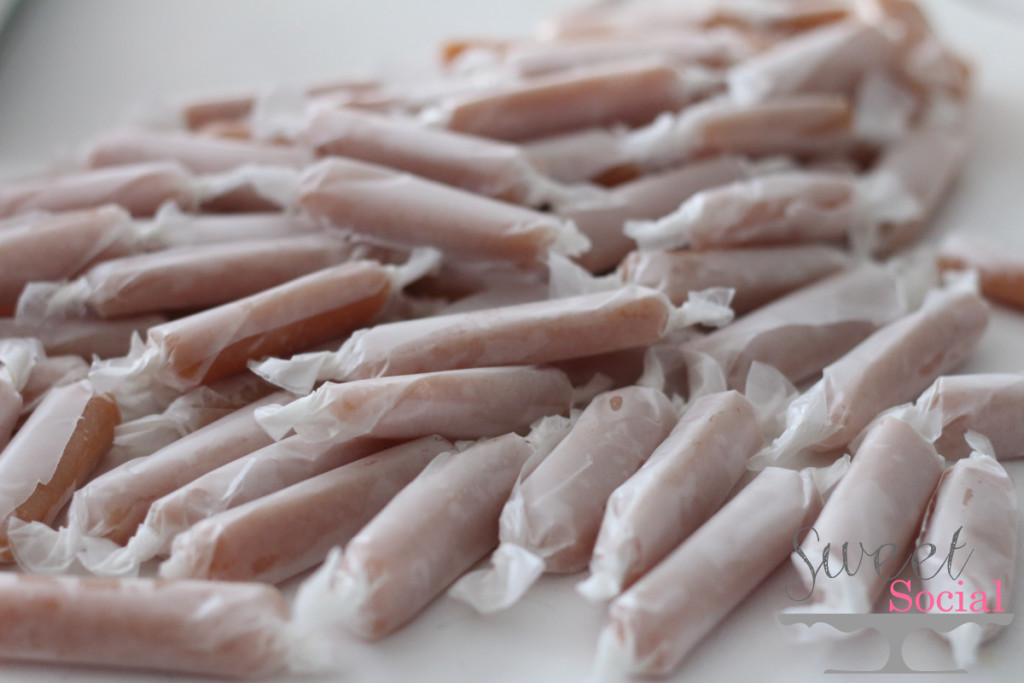
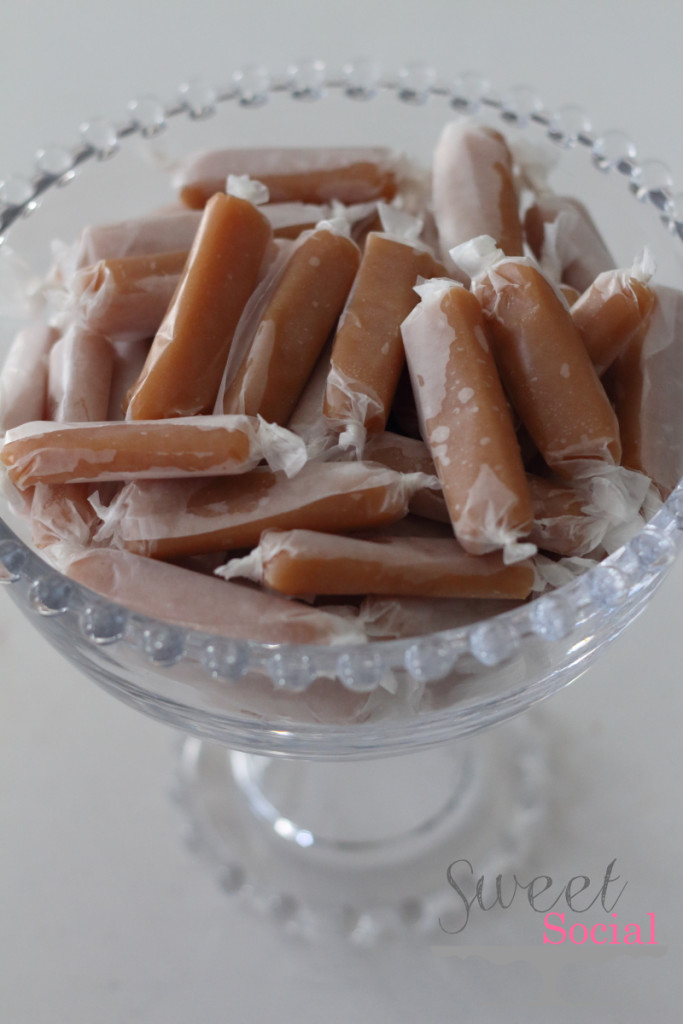
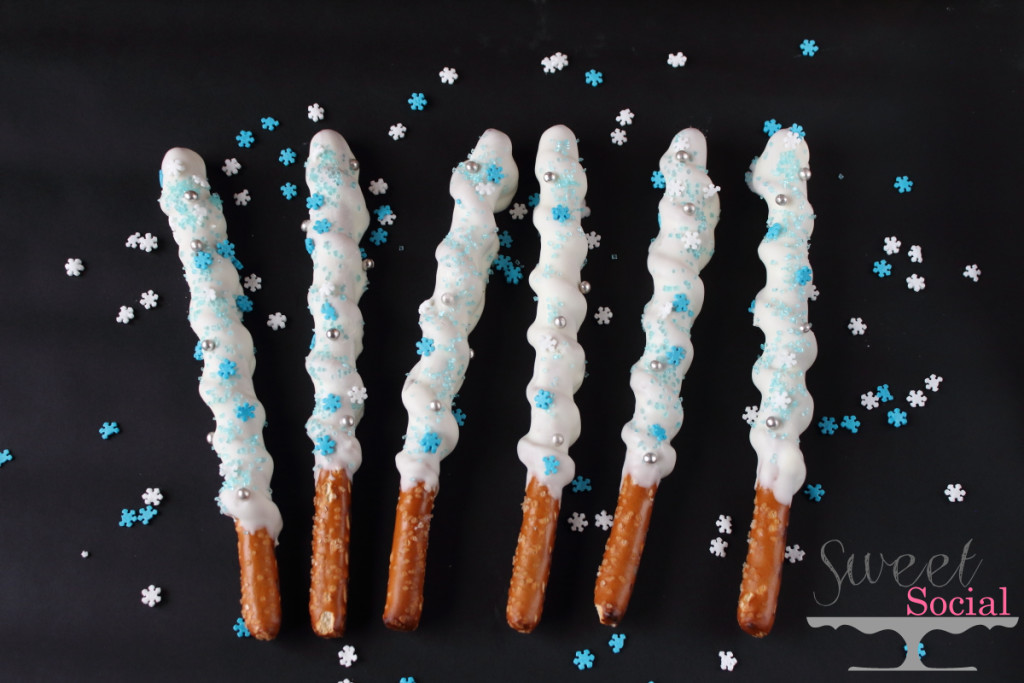
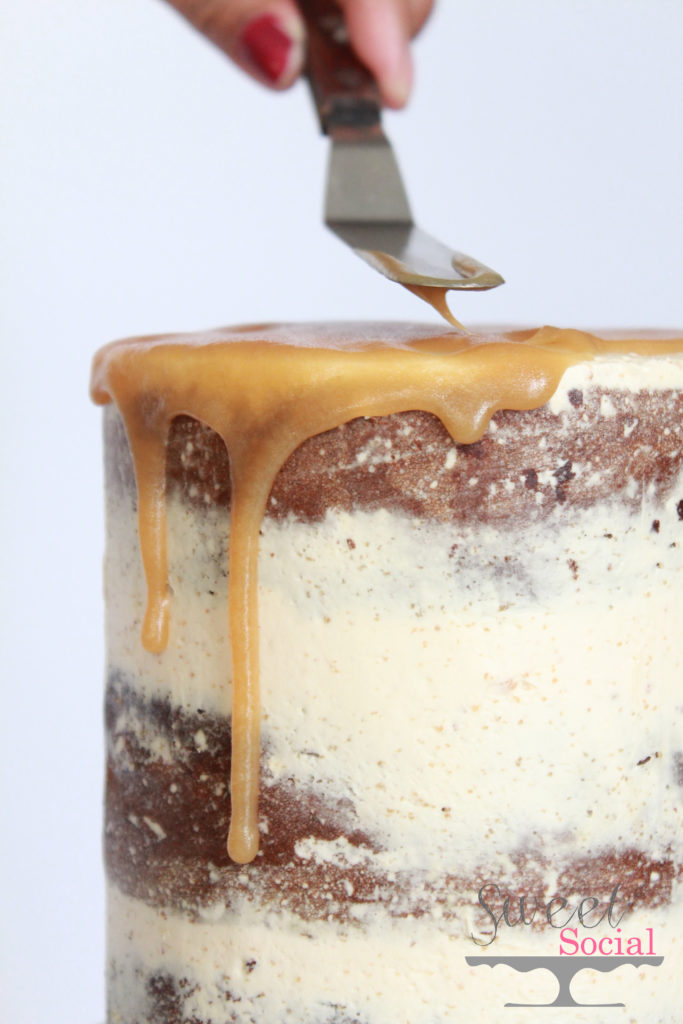
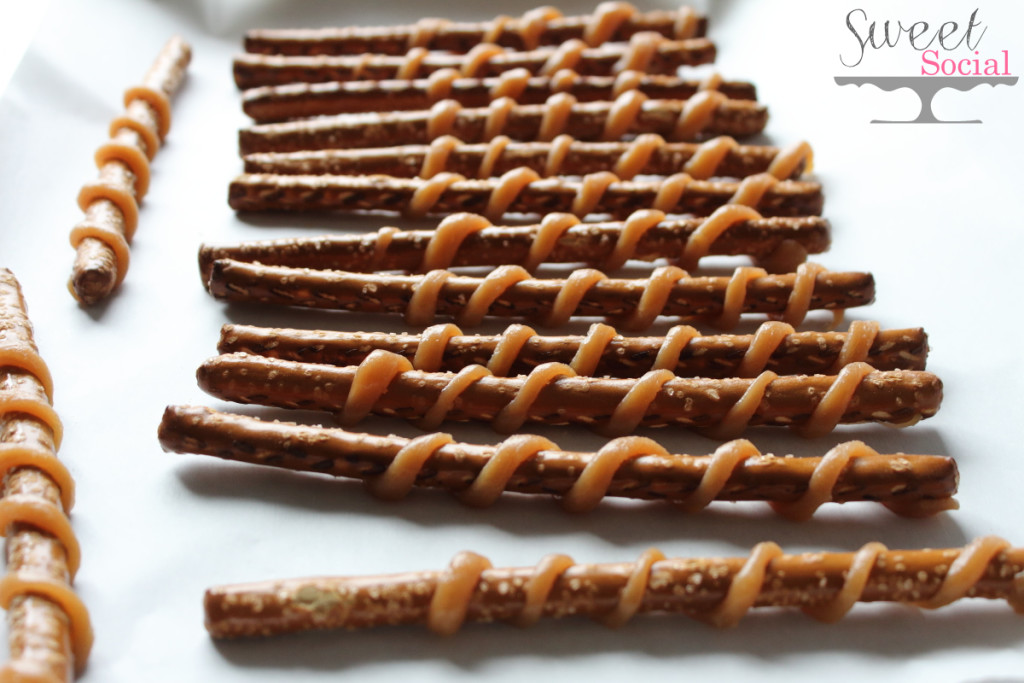
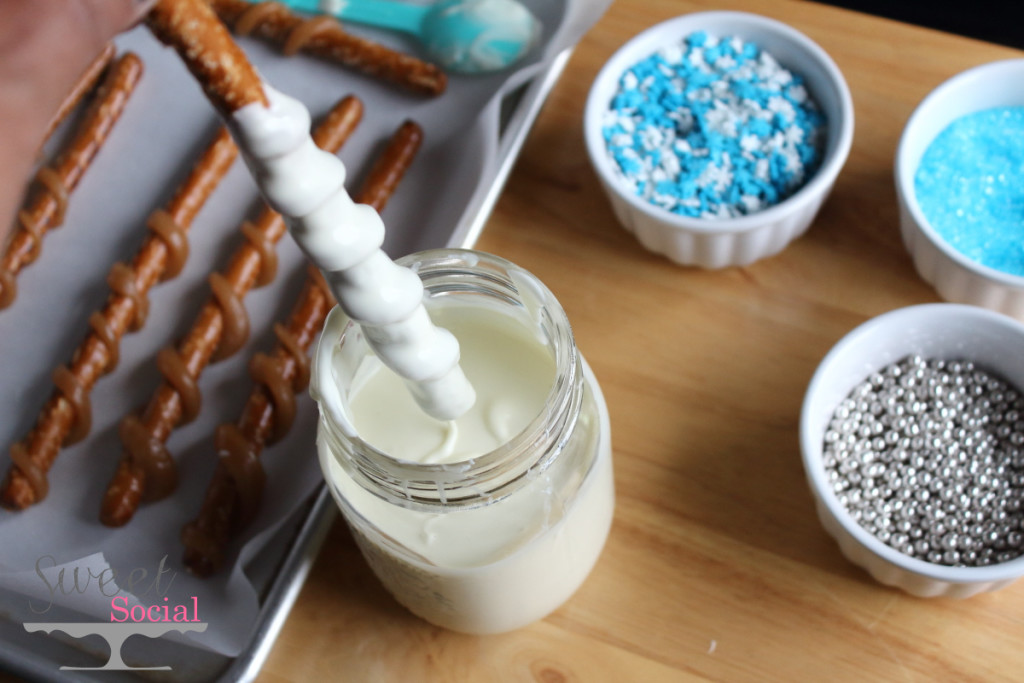
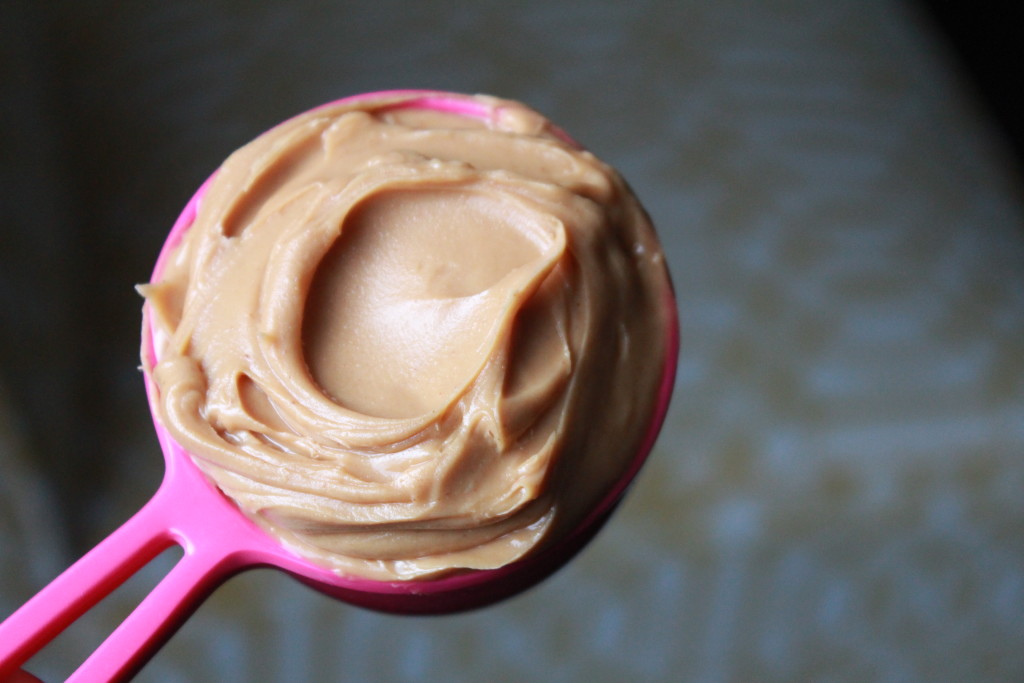
 Wrap the caramel around the batons, like so. The blur in the video is Miss K’s tiny hands…I guess that’s the quality I get when I recruit my child to record me LOL.